

Before you start
Make sure you have:- Access to the Confluence workspace you want to sync.
- Permission to view the spaces you want to import.
- Permission to authorize third-party applications in Atlassian.
Creating a Confluence connection
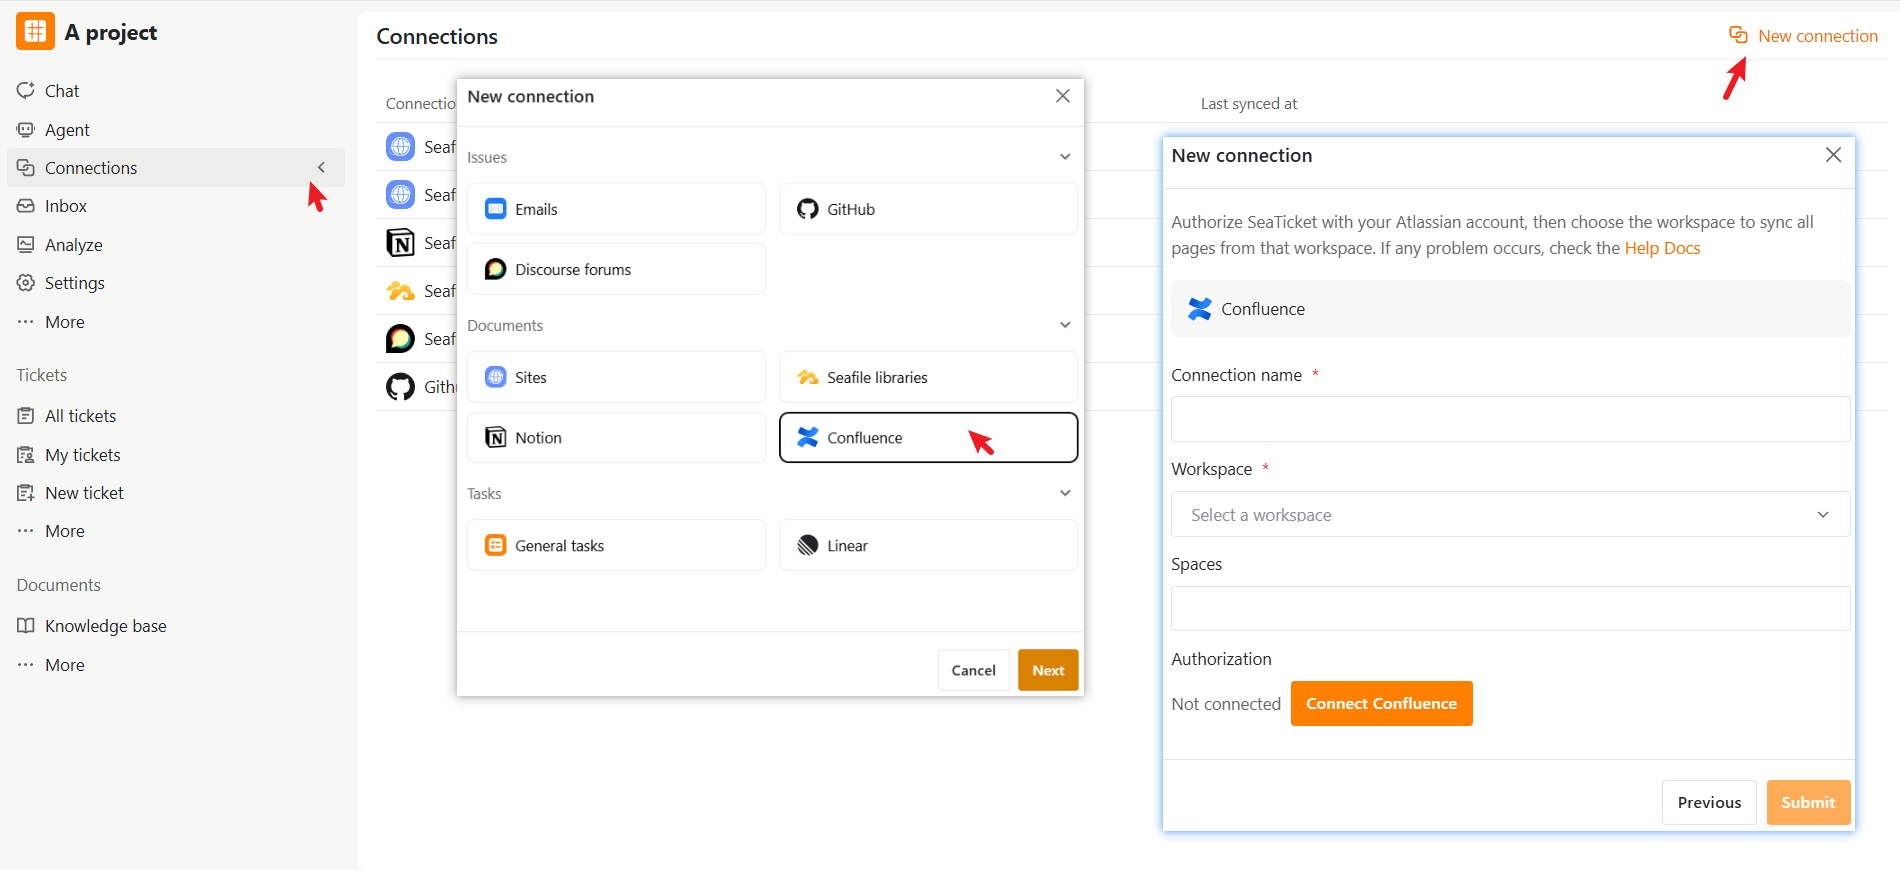
Step 1. Select Confluence connection
- Open a project in SeaTicket.
- Go to Connections from the left navigation menu.
- Click New connection in the top-right corner.
- Select Confluence under Documents, then click Next.
Step 2. Authorize Confluence
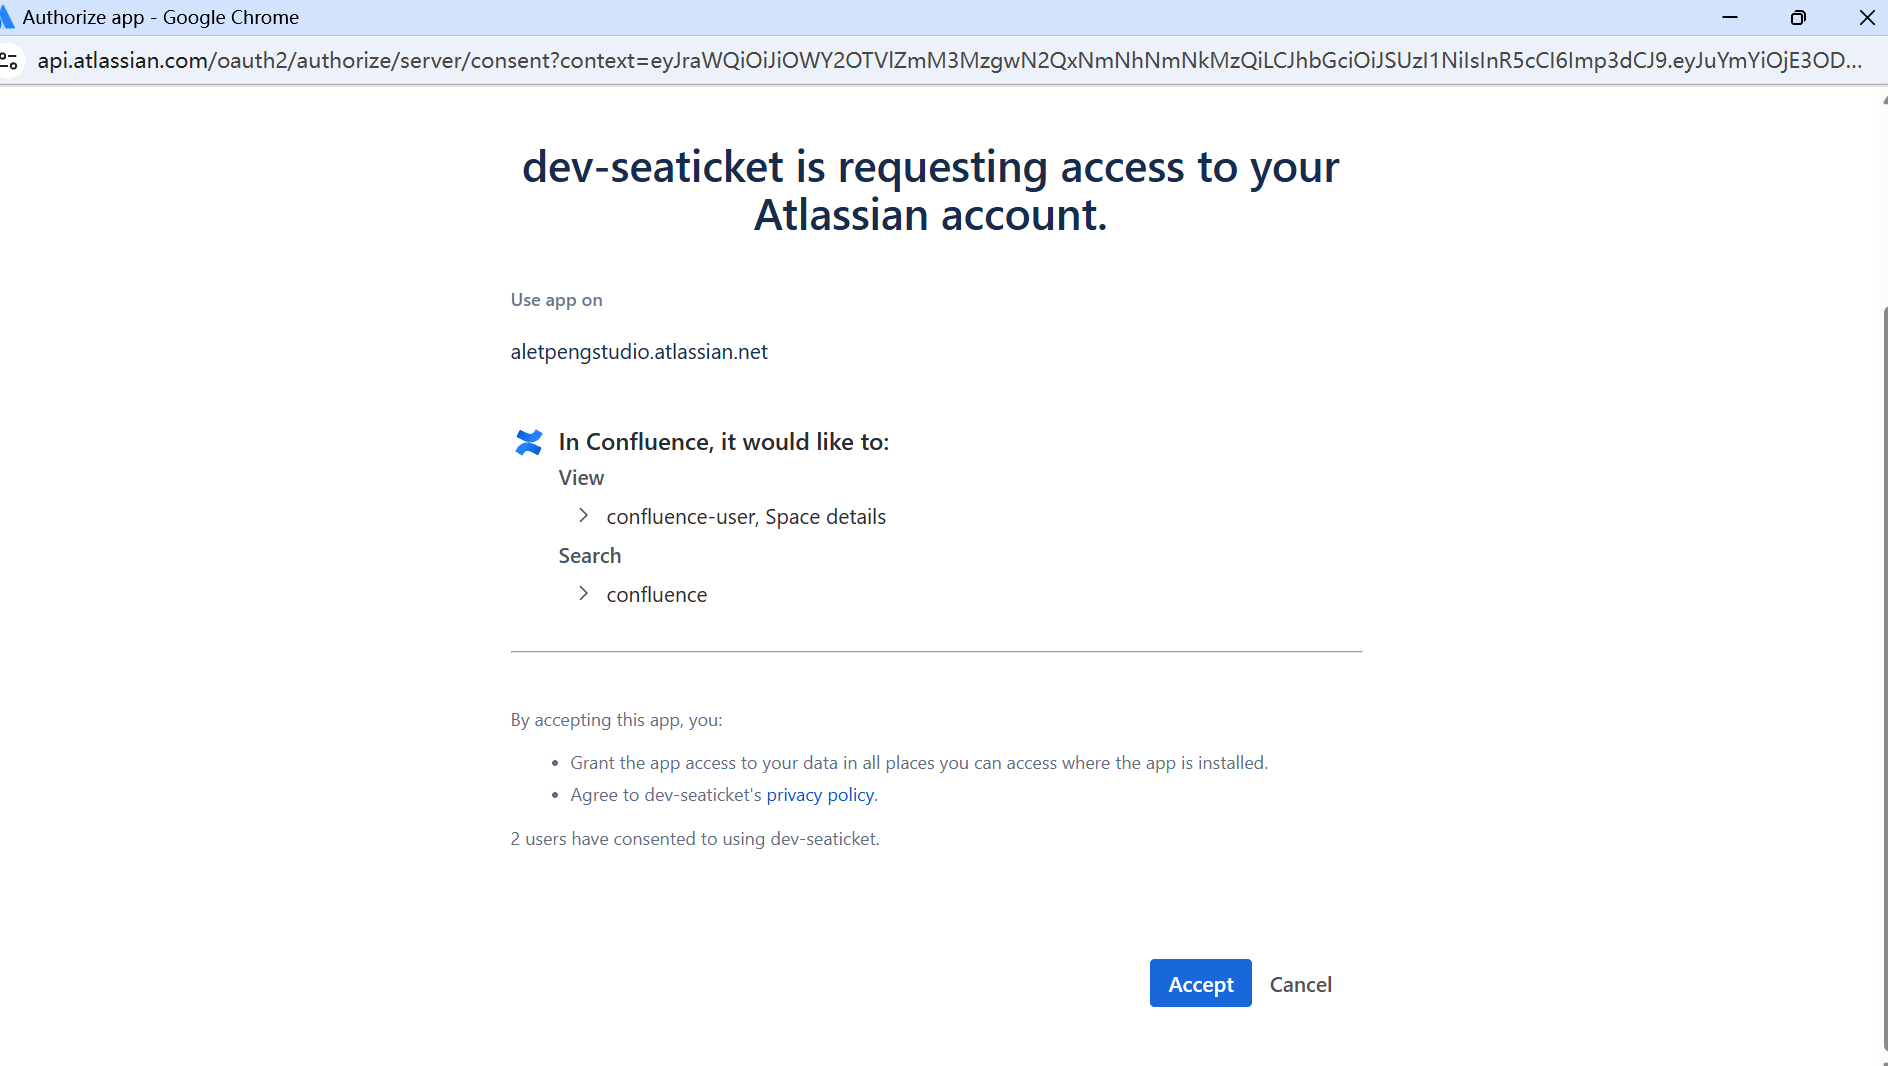
Before syncing data, you need to authorize SeaTicket to access your Confluence account.- Click Connect Confluence.
- You will be redirected to the Atlassian authorization page.
- Sign in to your Atlassian account if required.
- Review the requested permissions and click Accept to authorize the connection.
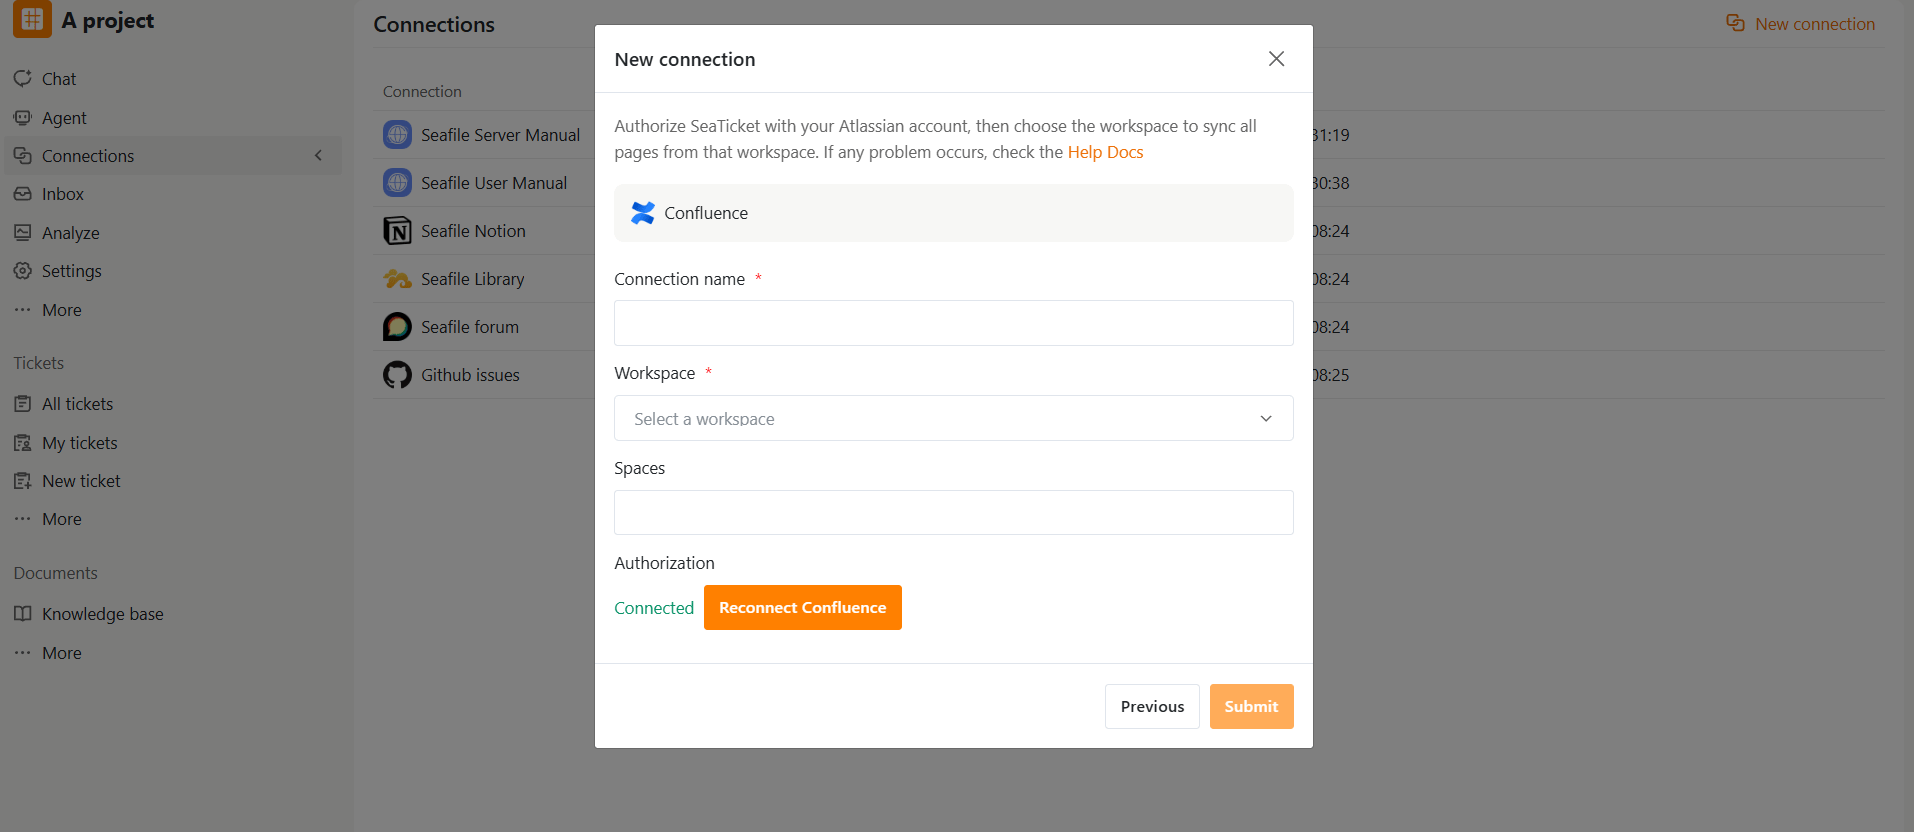
Step 3. Configure the connection
Fill in the connection details:
Click Submit to create the connection.
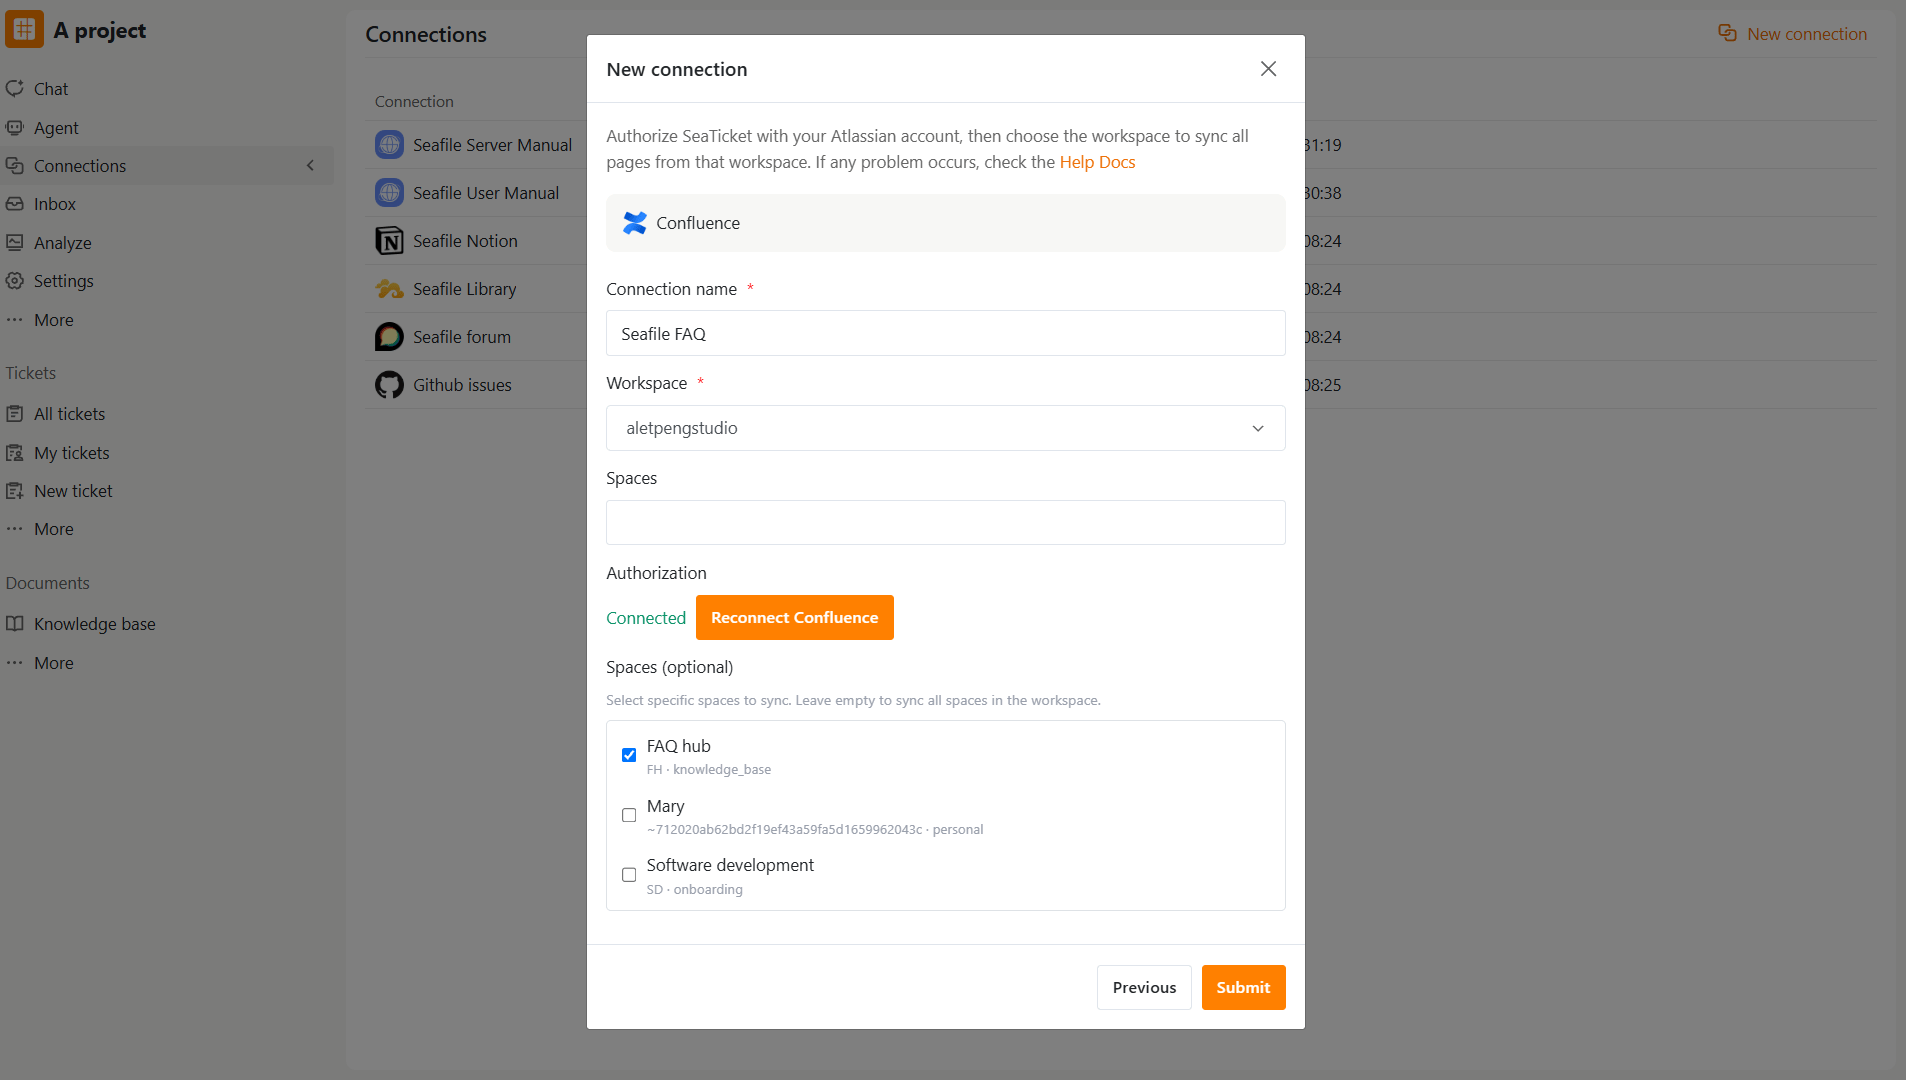
After the Connection is Created
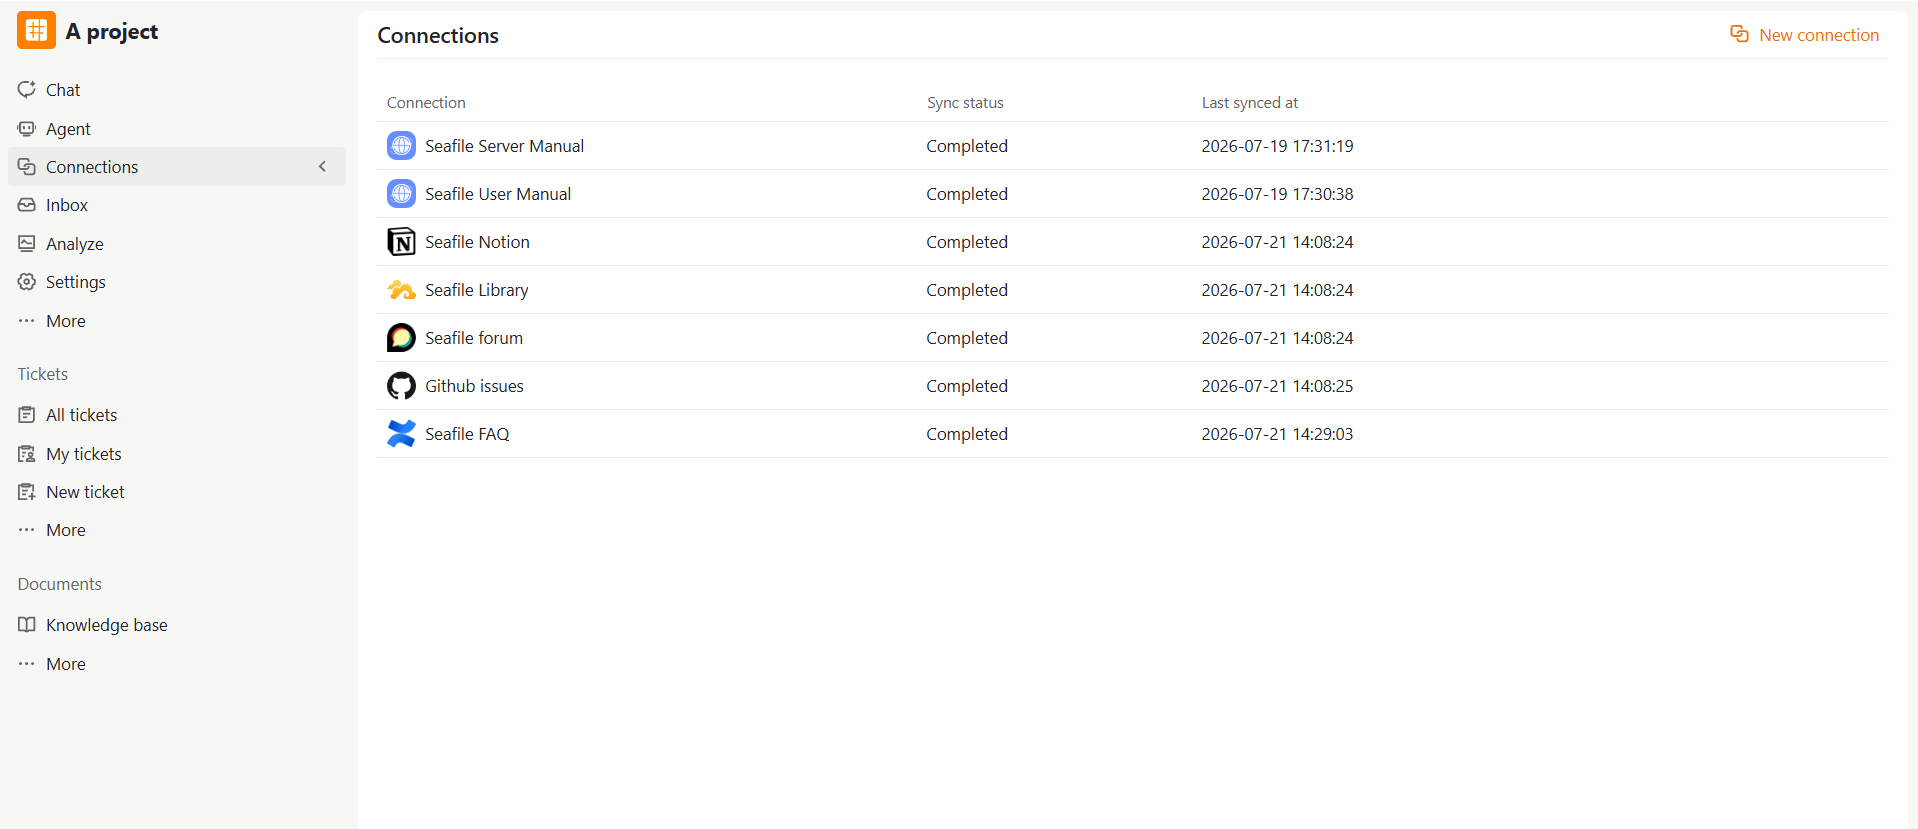
After creating the connection, SeaTicket will start syncing pages from the selected Confluence spaces. You can view the sync status from the Connections page. When synchronization is completed:- Open the connection.
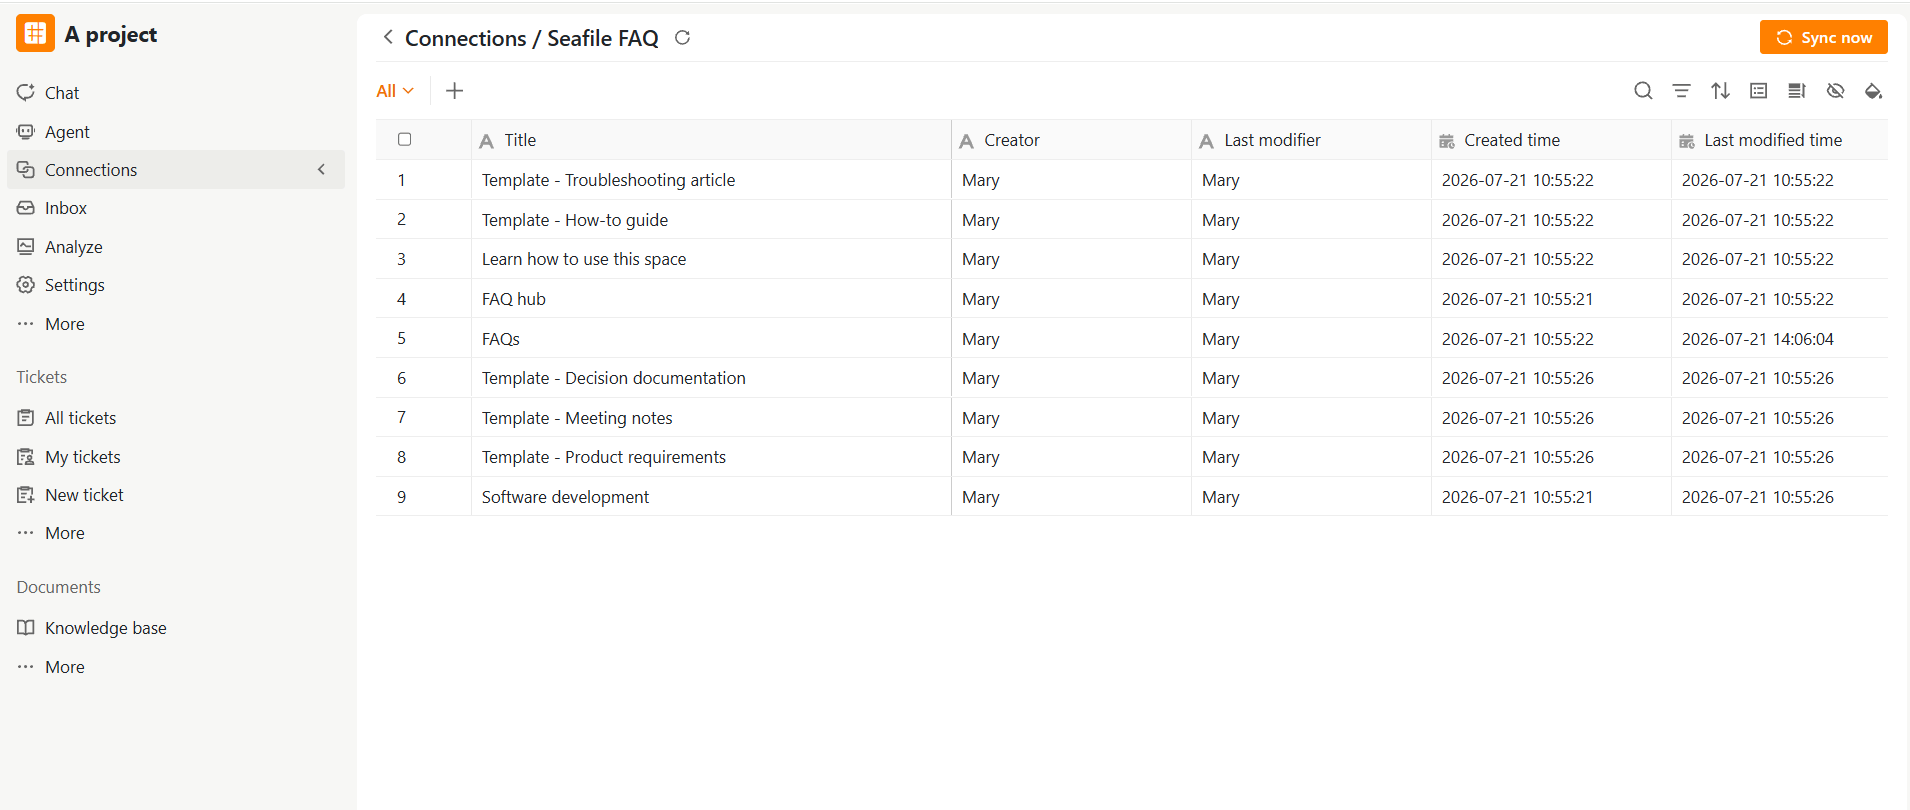
- Browse the synced Confluence pages.
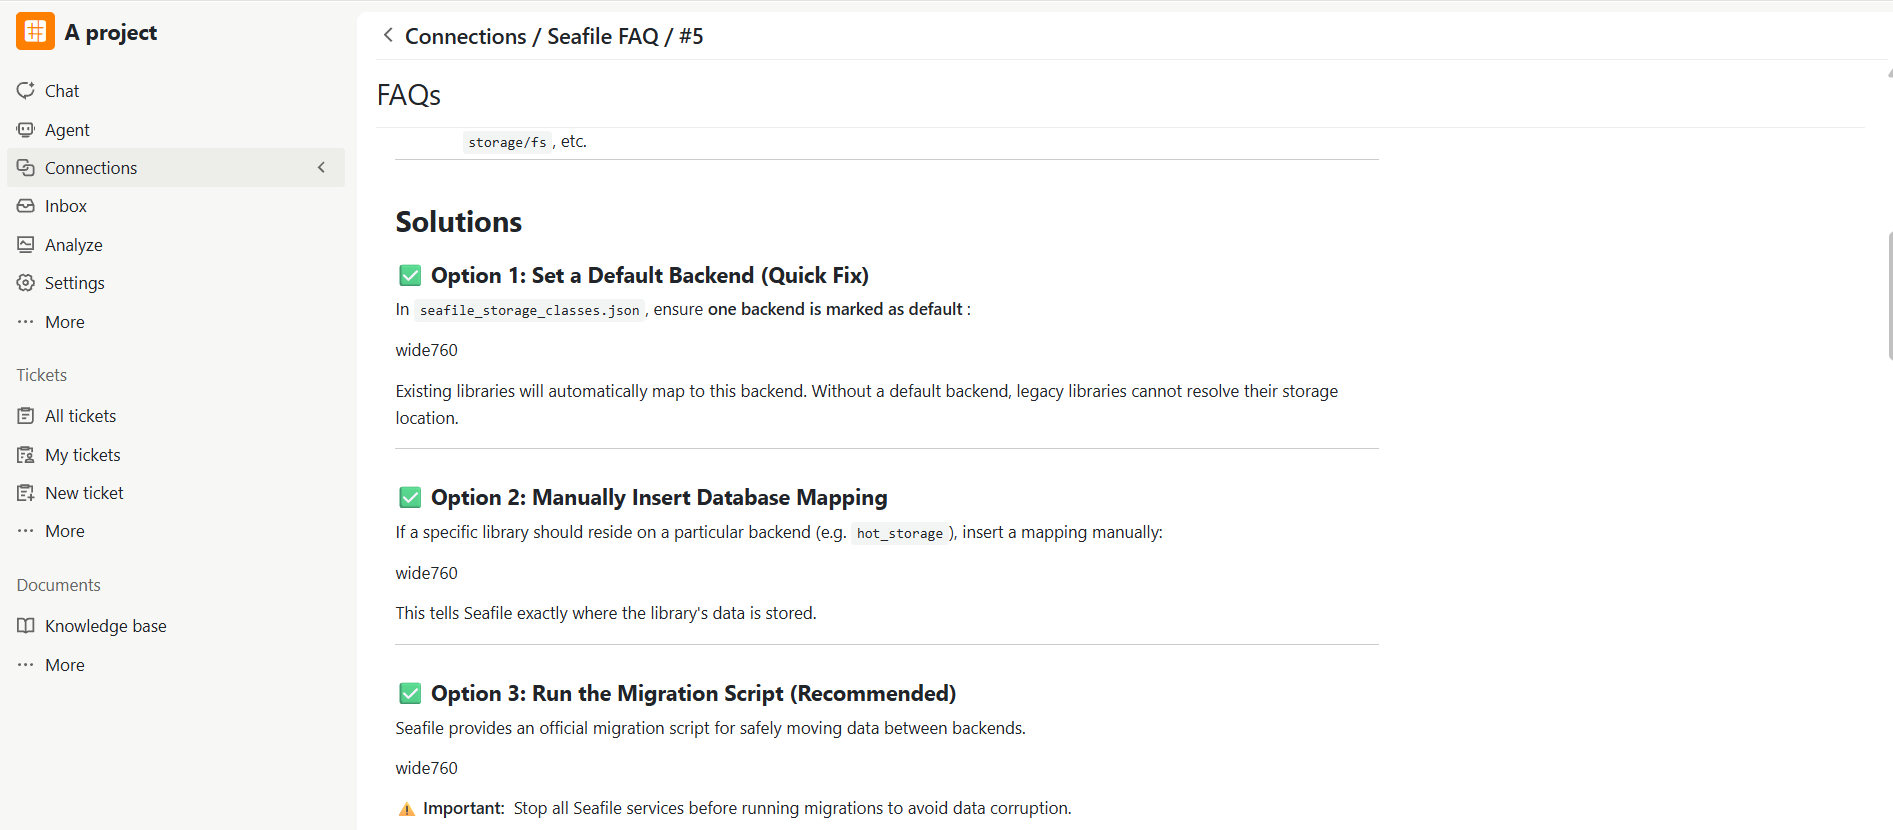
- Click a page title to view its content.
Viewing synced pages
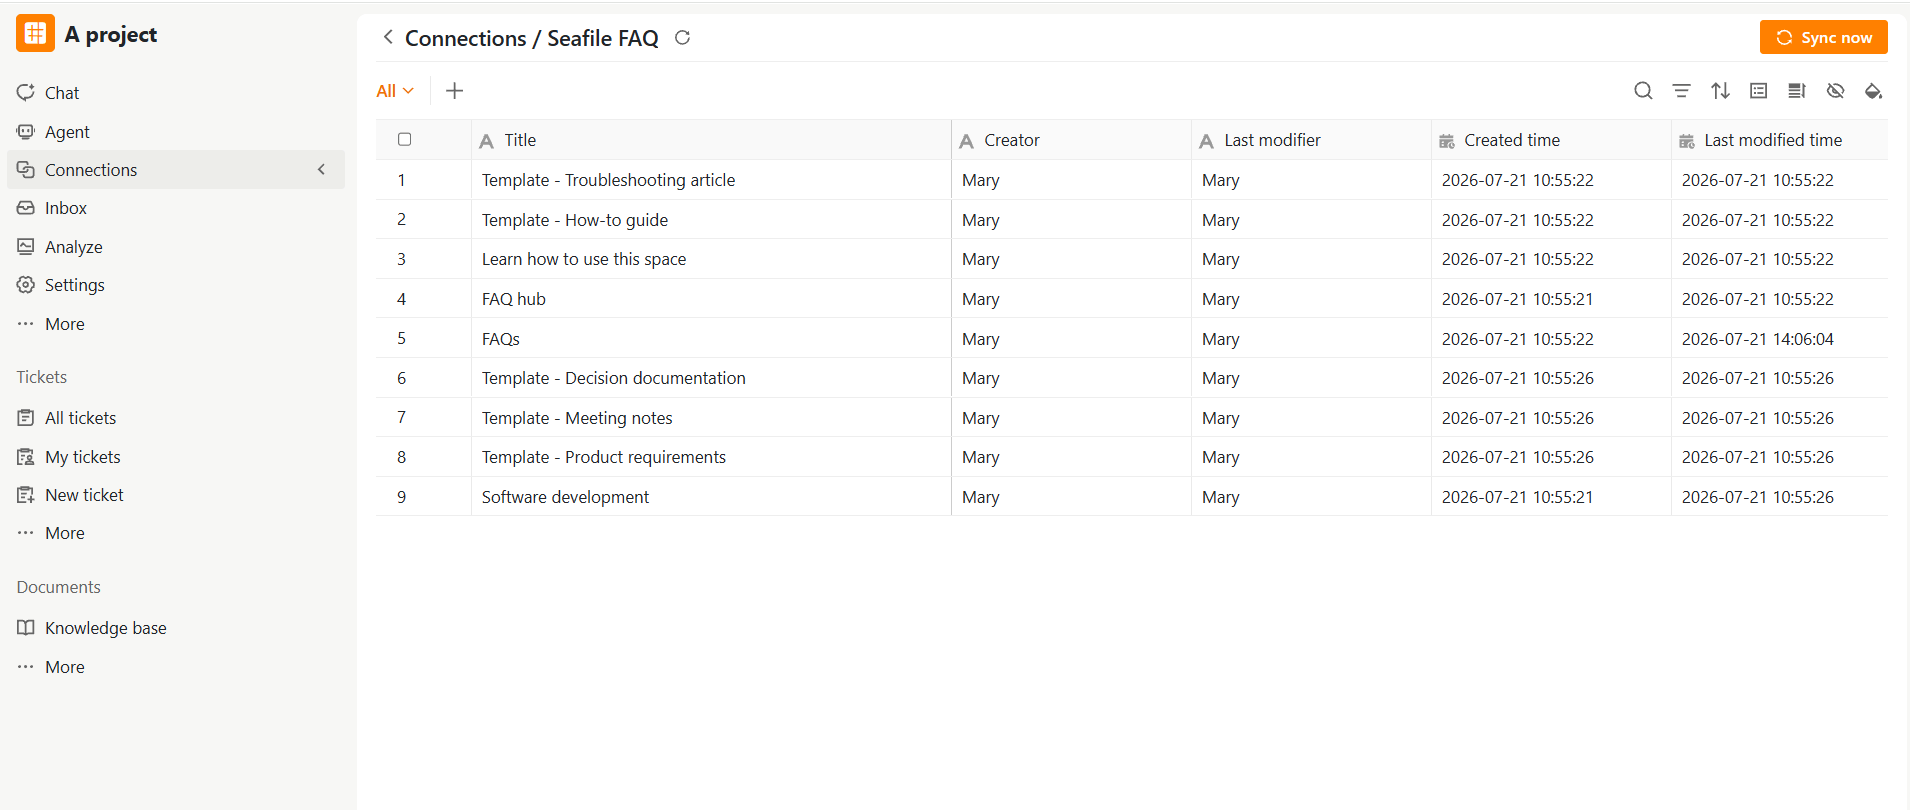
Each synced Confluence page includes basic metadata, such as:- Title
- Creator
- Last modifier
- Created time
- Last modified time
- If no workspace is available, ensure that the authorized Atlassian account has access to at least one Confluence Cloud workspace.
- If some spaces are missing, ensure that the account has permission to view those spaces in Confluence.