
Before you start
Make sure you have:- Access to the Jira site and project you want to connect.
- Permission to authorize SeaTicket to access your Jira account.
Creating a Jira connection
Step 1. Select Jira connection
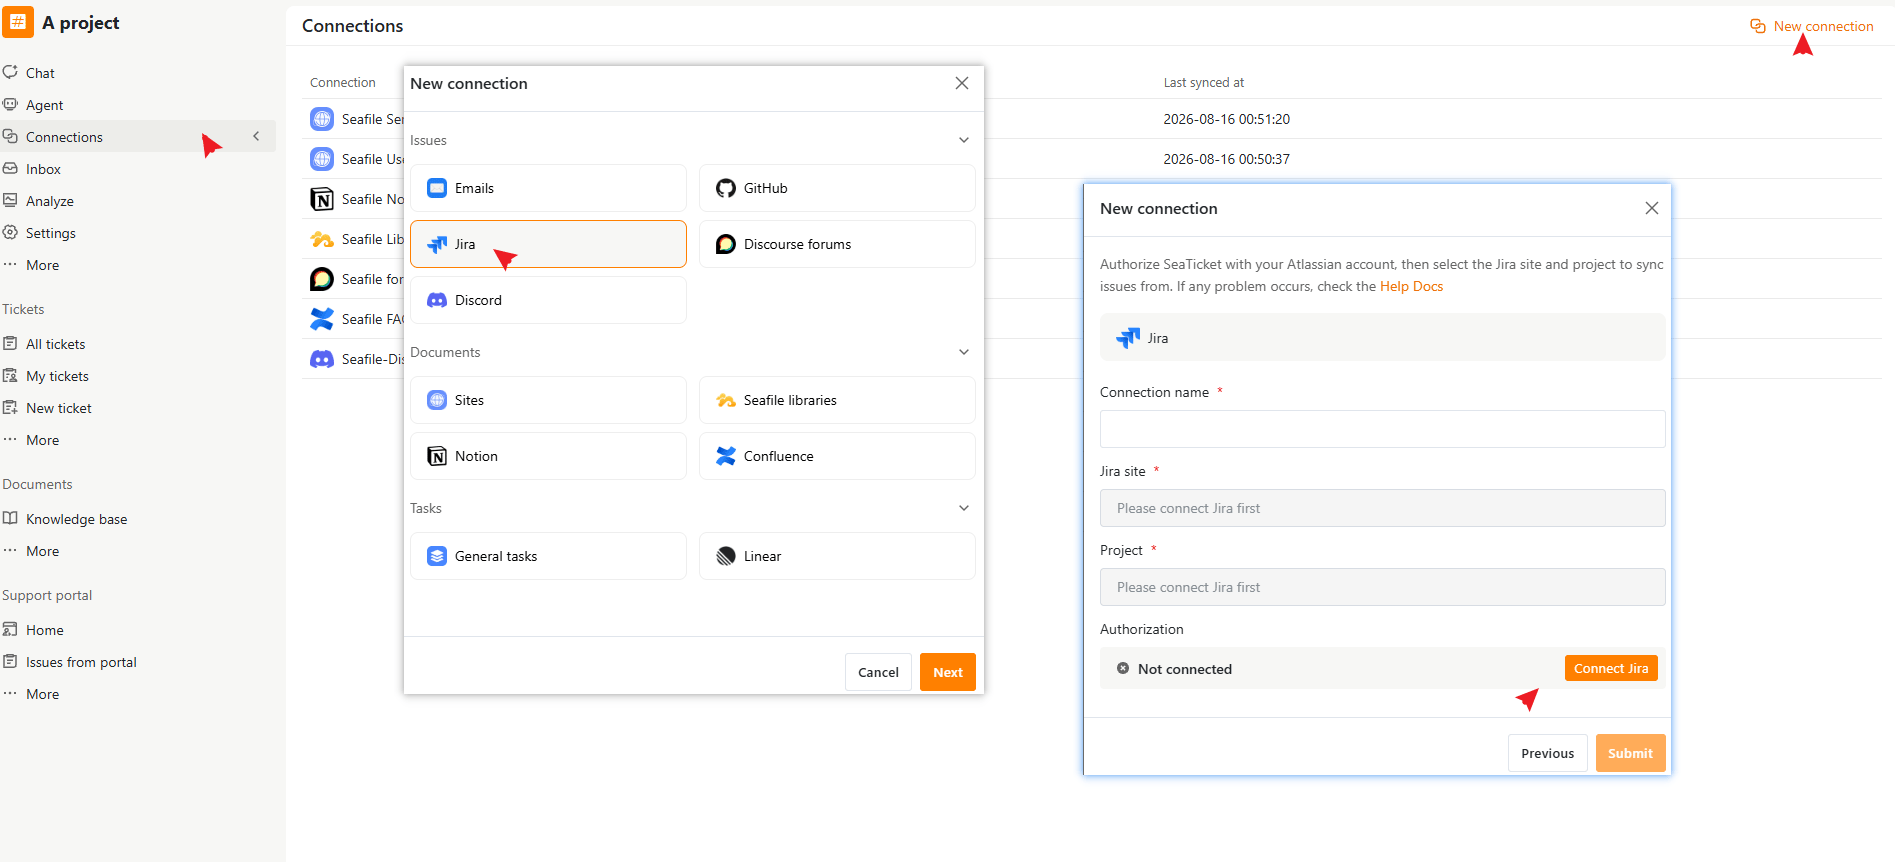
- Open a project in SeaTicket.
- Go to Connections from the left navigation menu.
- Click New connection in the top-right corner.
- Select Jira under Issues, then click Next.
Step 2. Authorize Jira
Before syncing data, you need to authorize SeaTicket to access your Jira account.- Click Connect Jira.
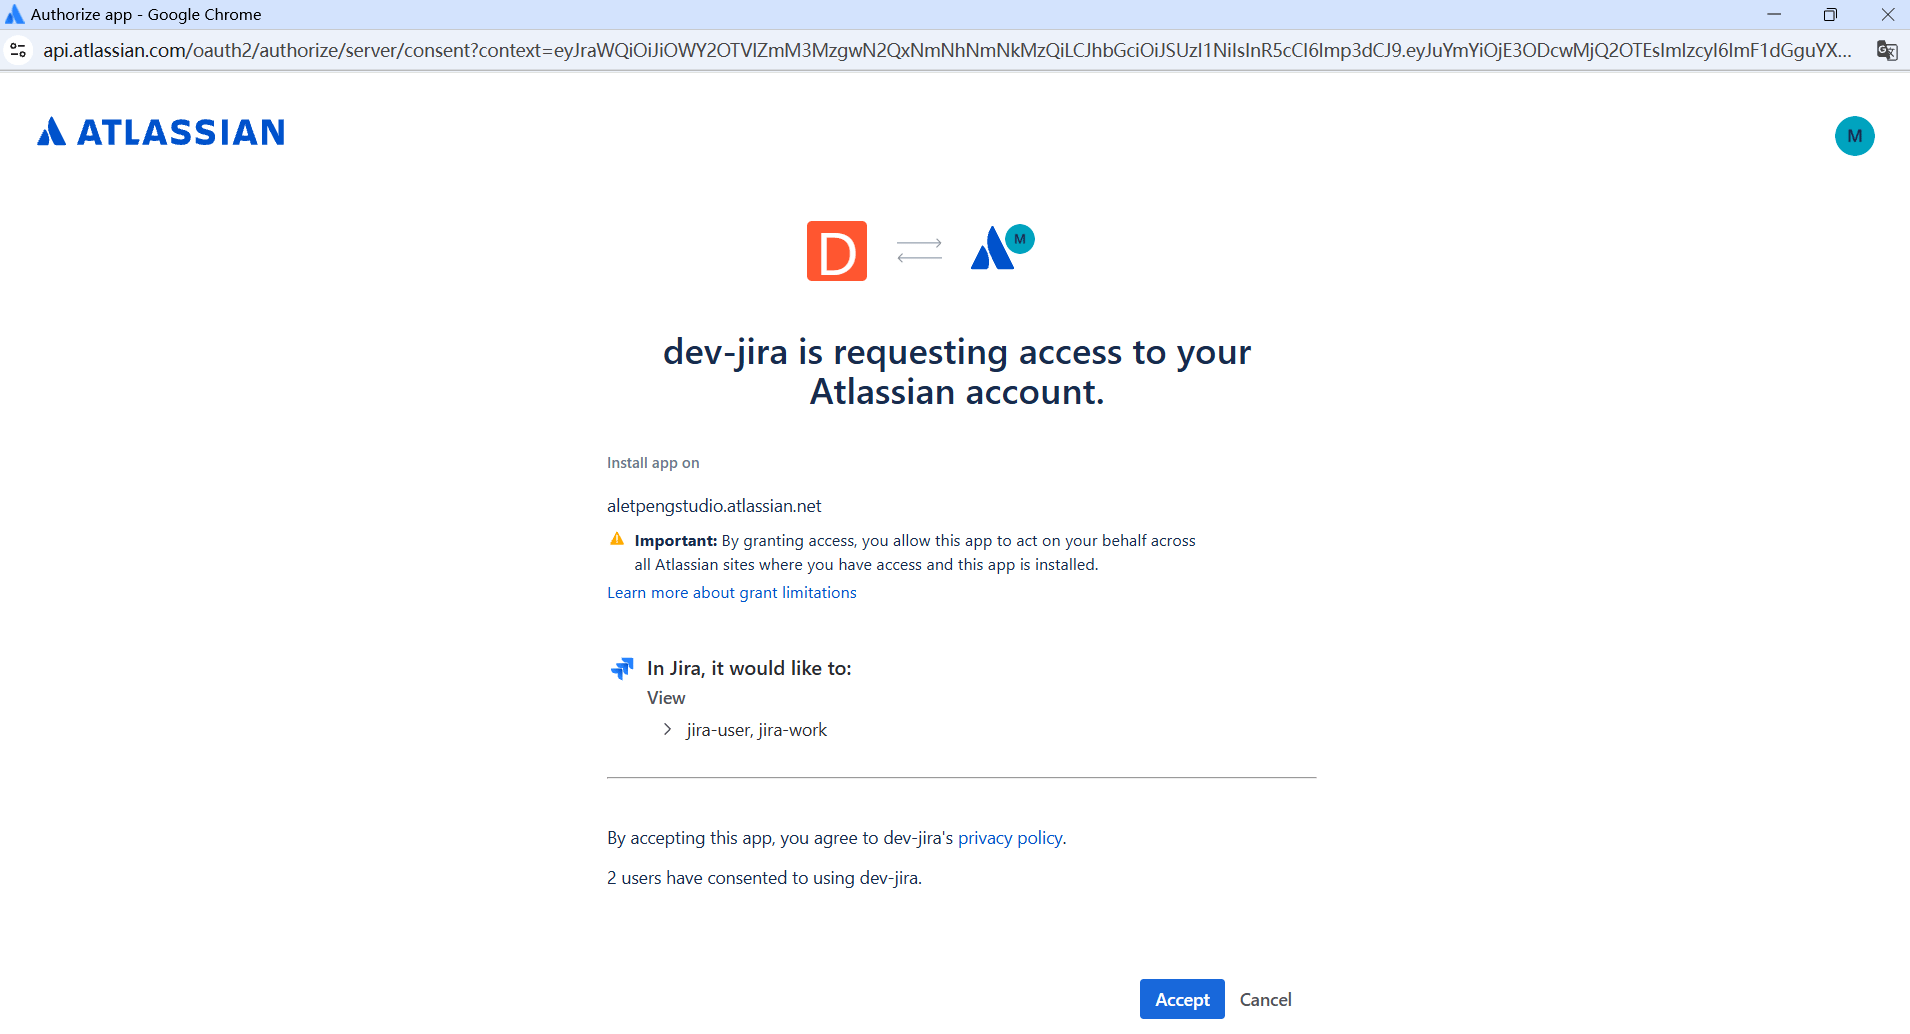
- You will be redirected to the Atlassian authorization page.
- Sign in to your Atlassian account if required.
- Review the requested permissions and click Accept to authorize the connection.
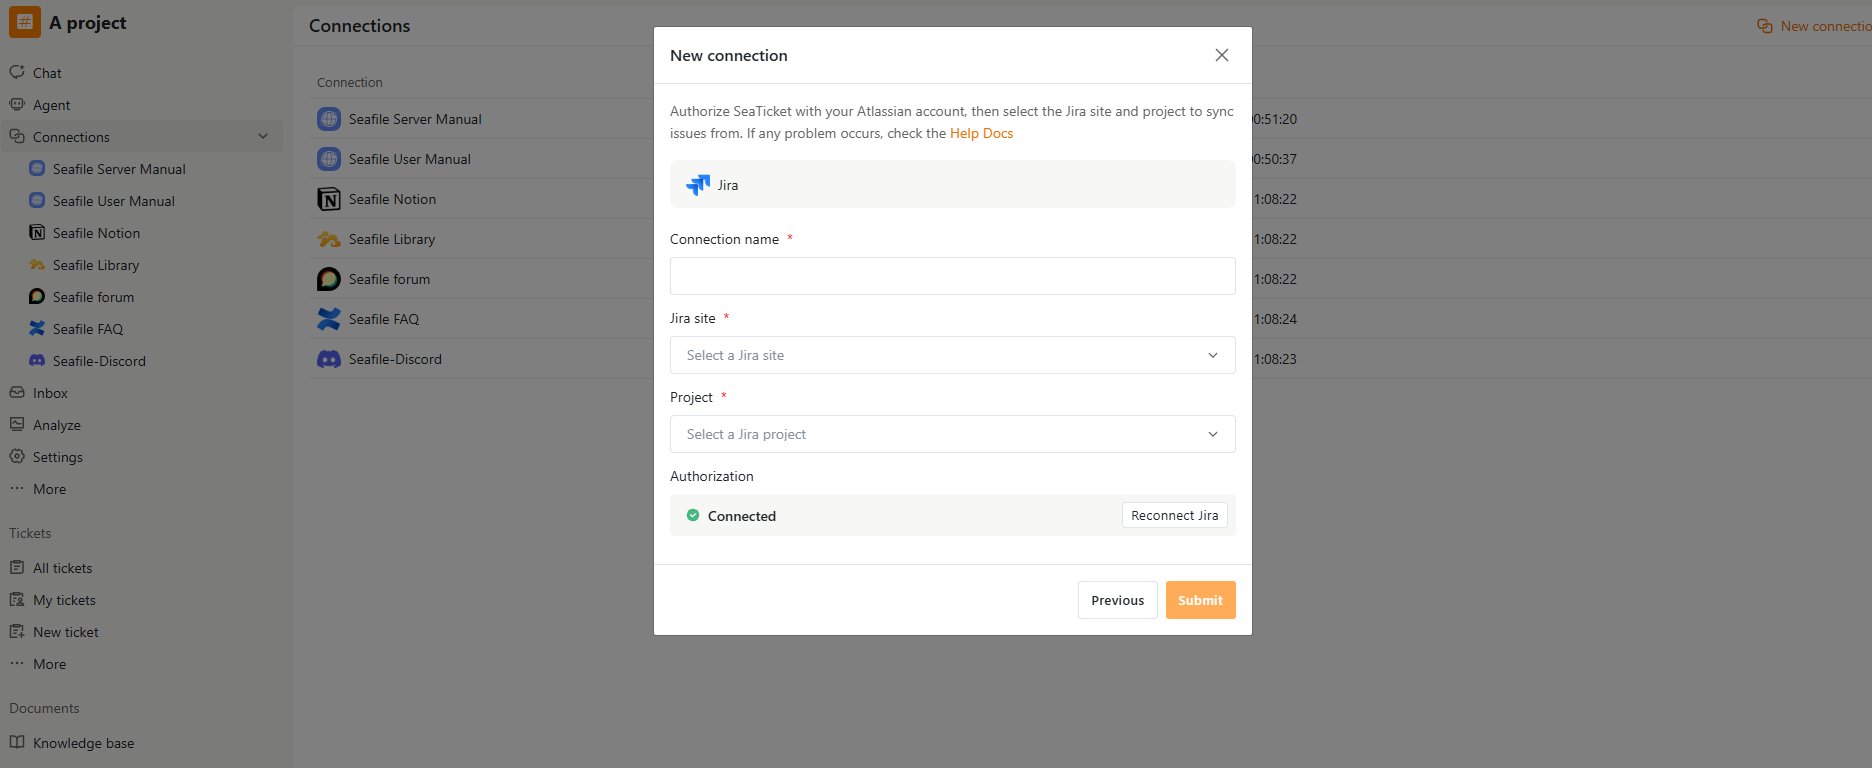
Note: The Jira site and projects shown in SeaTicket depend on the Jira sites and projects your Atlassian account can access.
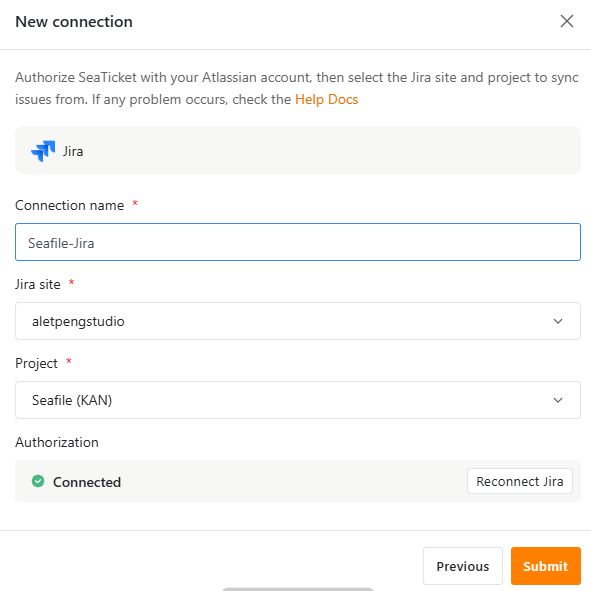
Step 3. Configure the connection
Fill in the connection details:
Click Submit to create the connection.
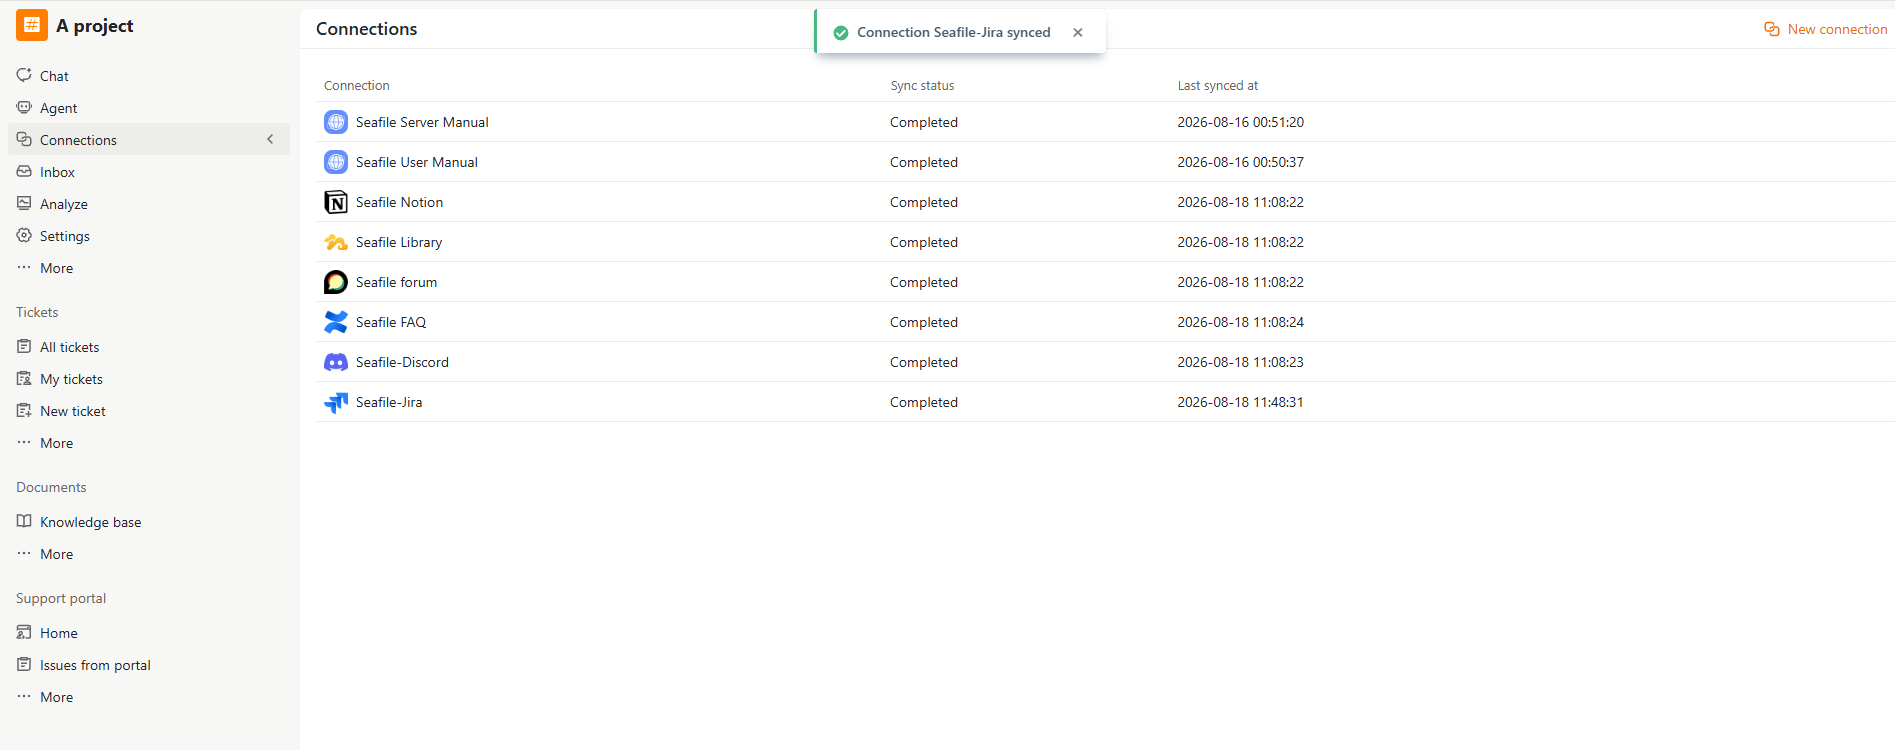
After the Connection is Created
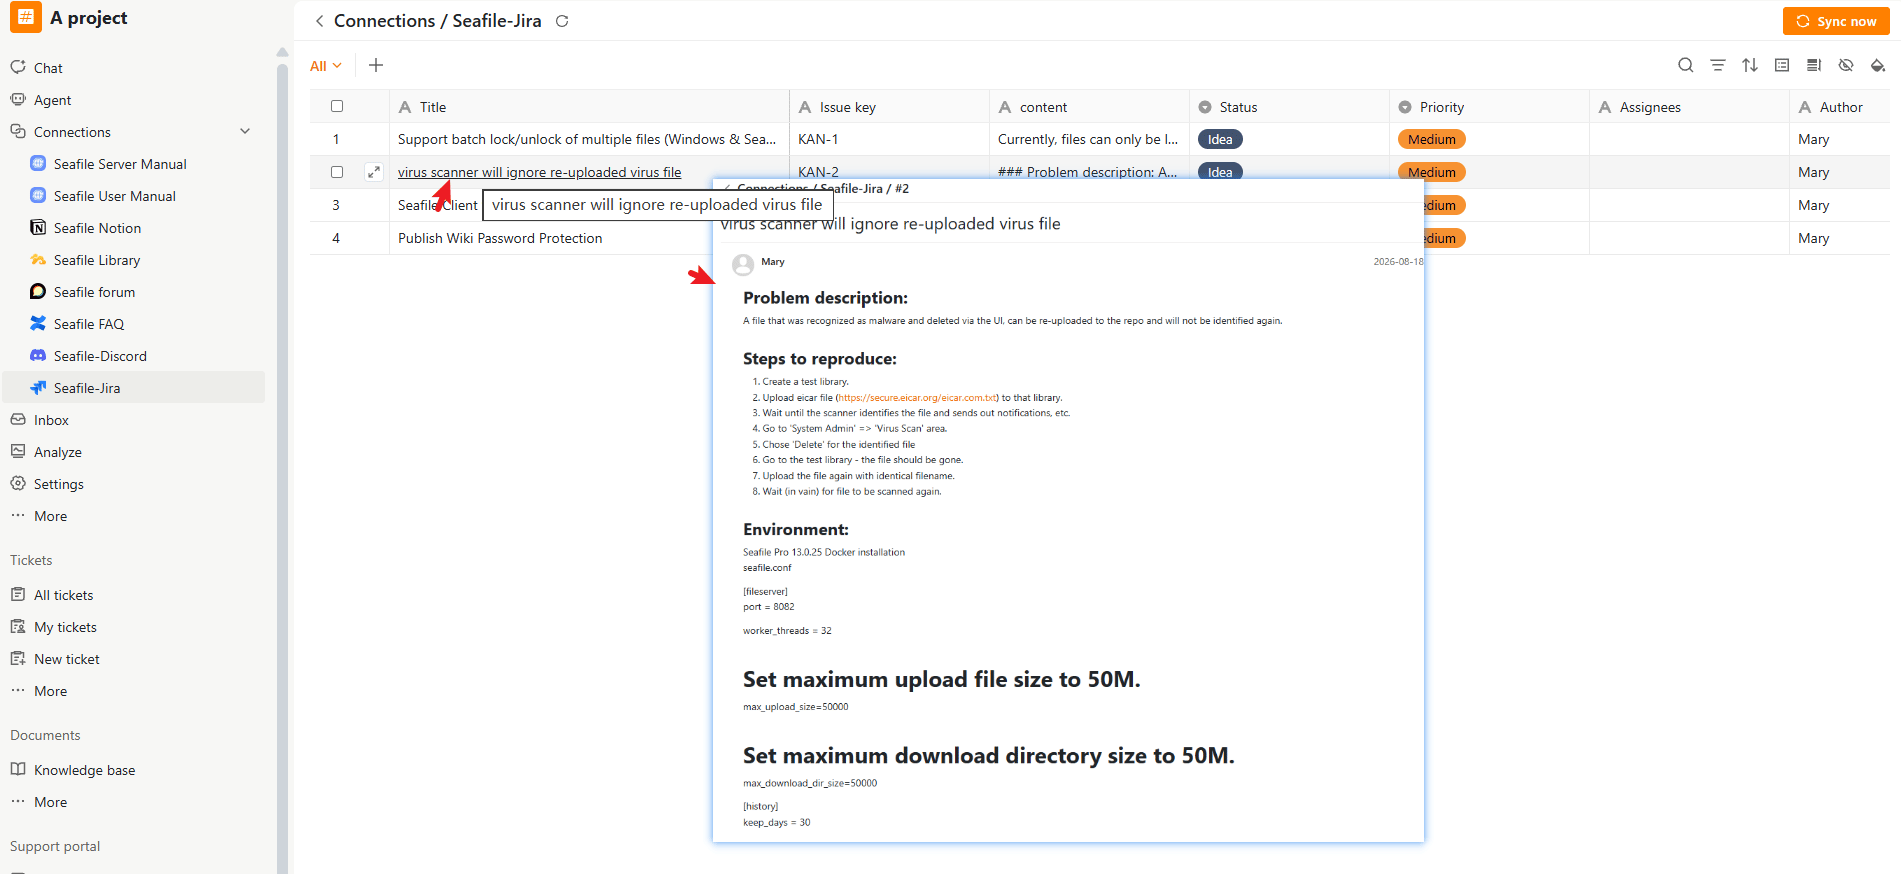
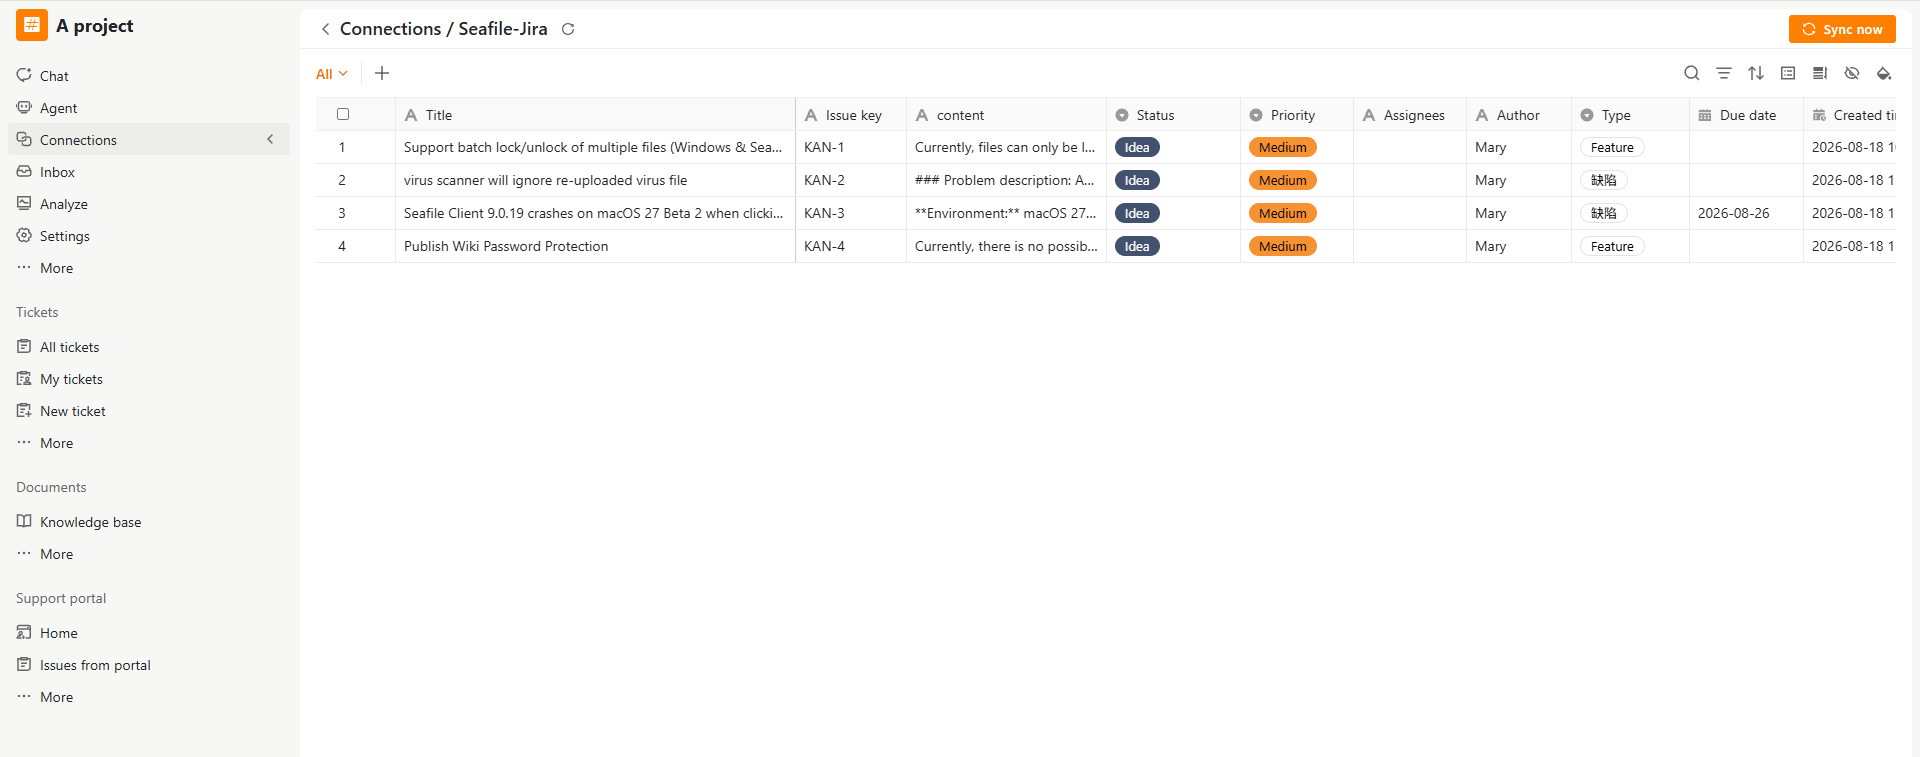
Once connected, SeaTicket automatically syncs issues from the selected Jira project. Synced issues appear in a list view under the connection in the left sidebar. For each issue, SeaTicket records:- Title
- Issue key
- Content
- Status
- Priority
- Assignees
- Author
- Type
- Due date
- Created time and Last modified time
- AI Summary and AI Processed time — automatically generated for each issue
View issue details
Click an issue title to open its details in SeaTicket. The issue detail page shows the information synced from Jira, allowing you to review the issue without opening Jira separately.