
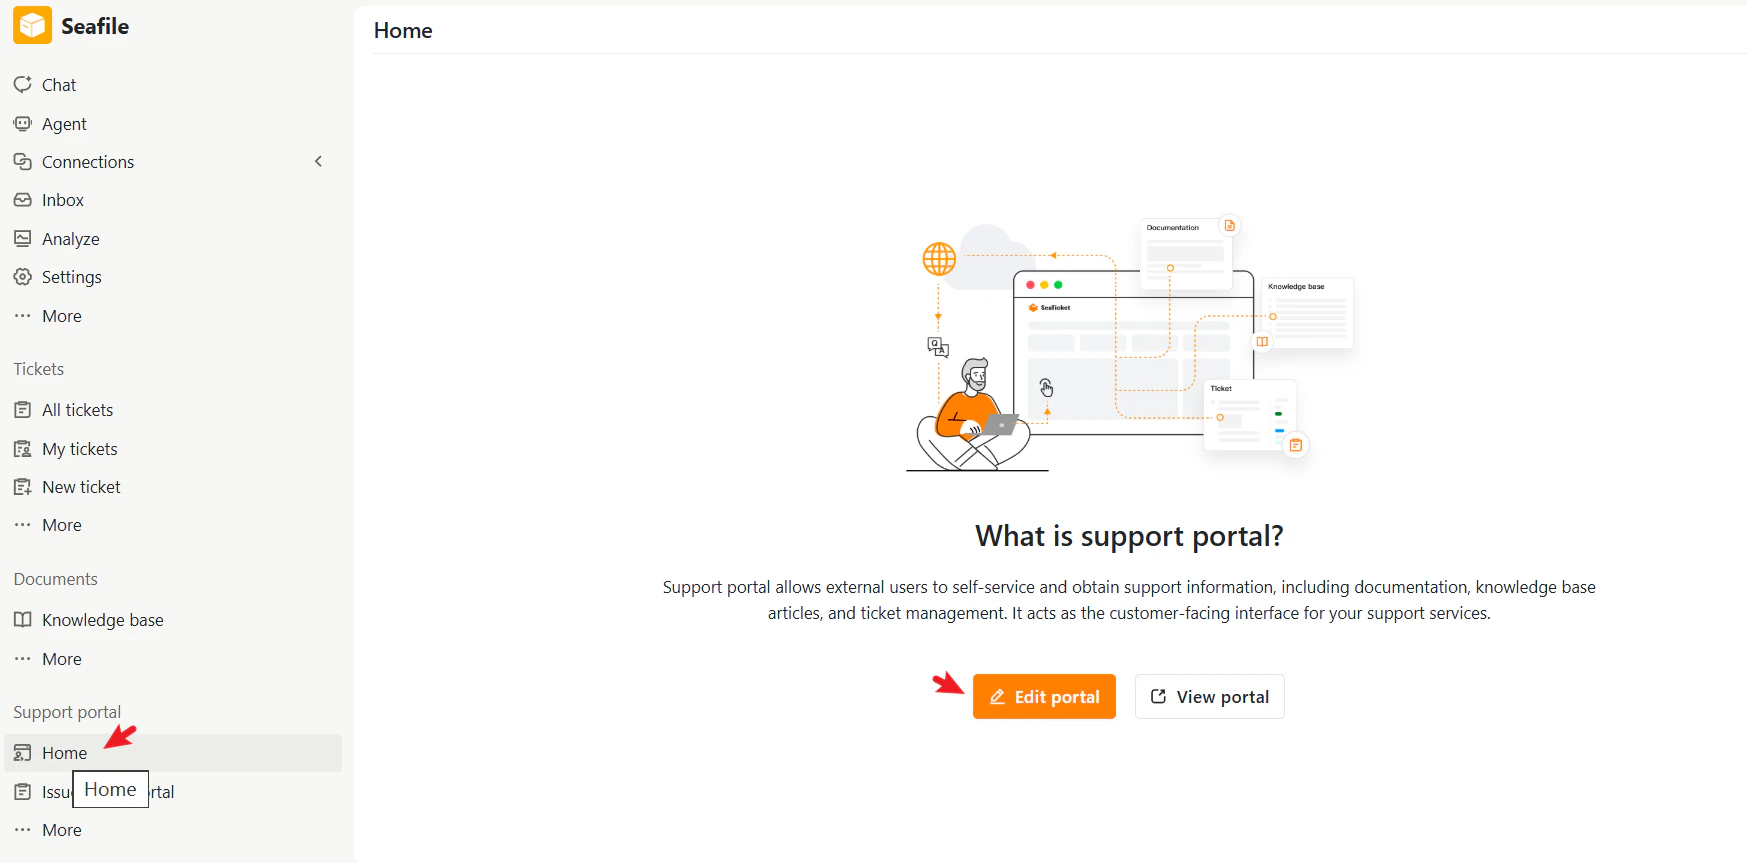
- Go to Support portal > Home,
- Click Edit portal to configure your portal settings.
Set up the External Portal
Click the Settings icon in the portal editor to open the configuration panel.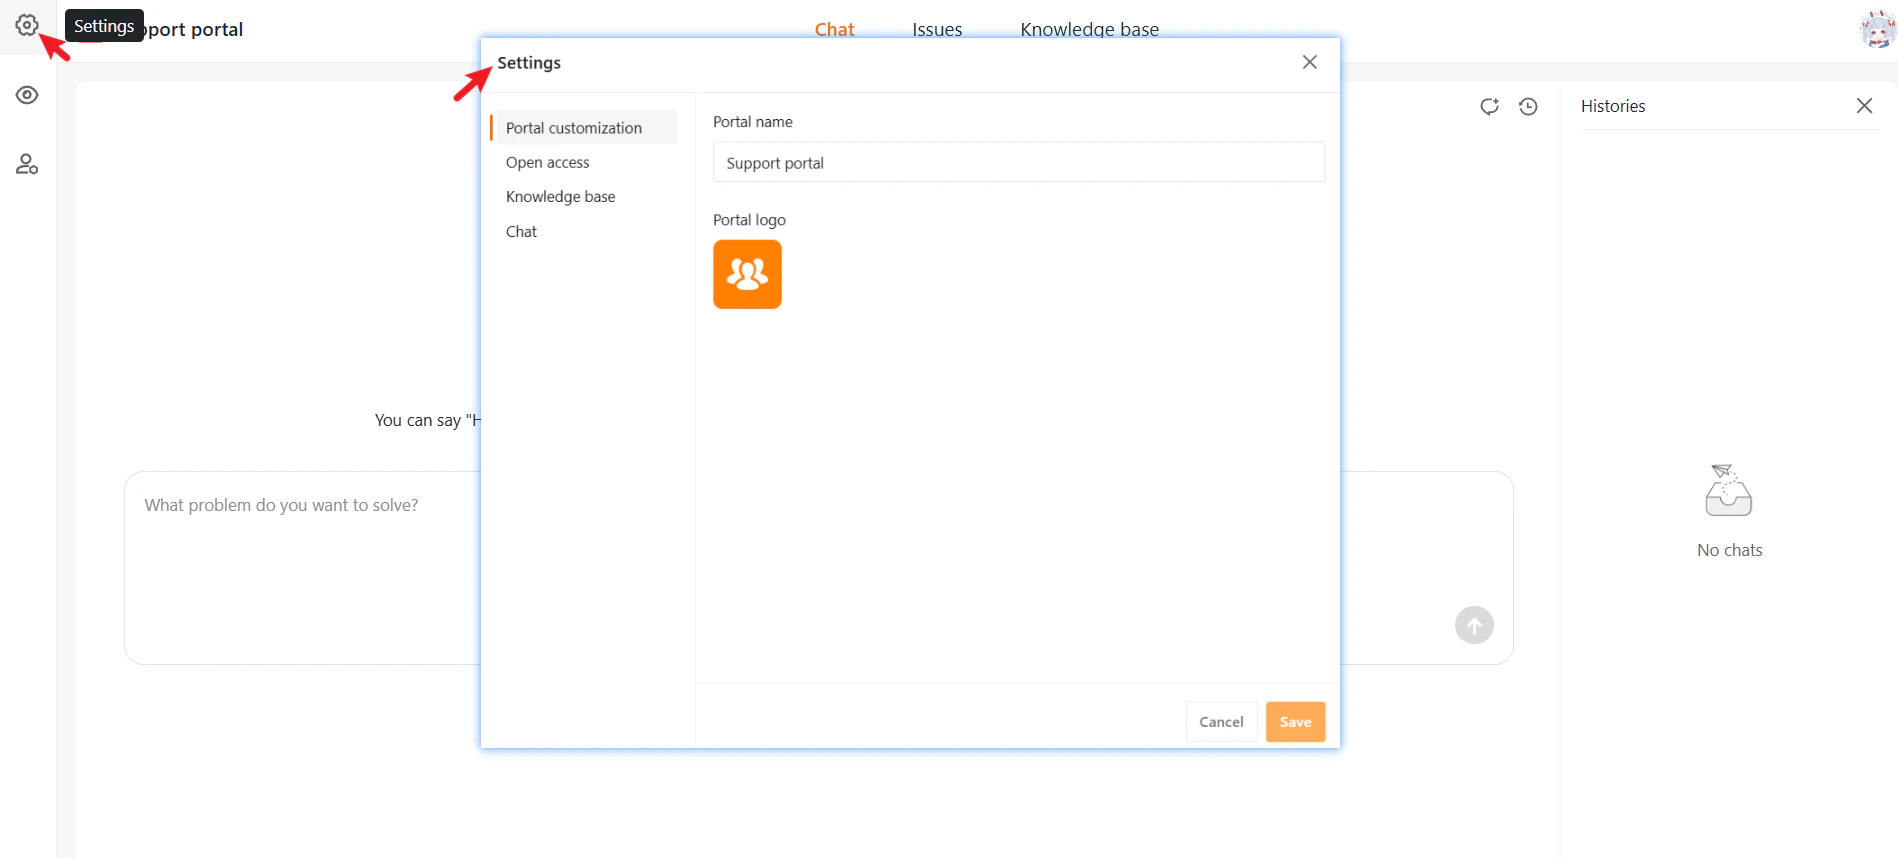
Portal Customization
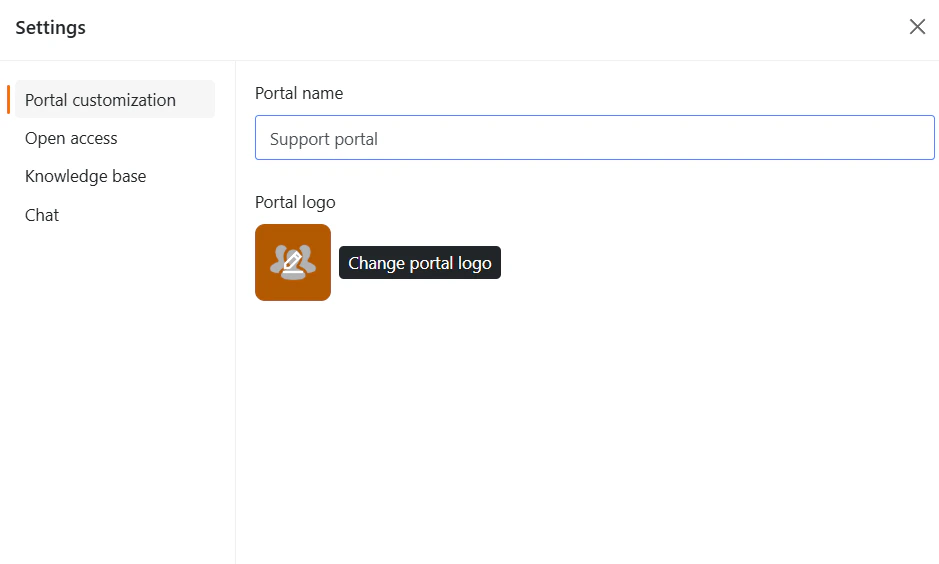
you can:- Change the portal name
- Upload or replace the portal logo
Open Access
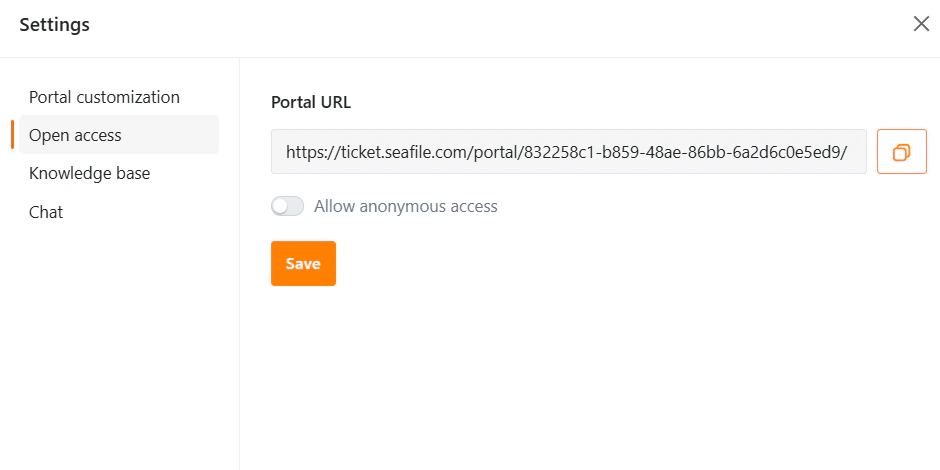
Control whether users must sign in to access the portal.Portal URL
A unique portal URL enables external access. Share this link with customers or publish it on your website so they can submit issues, track issues.view knowledge bases. When users access the portal via the shared URL:- Logged-in users (with a SeaTicket account) can access full features, including Chat and issue submission.
- Anonymous users can access limited features, such as Chat and the Knowledge Base.
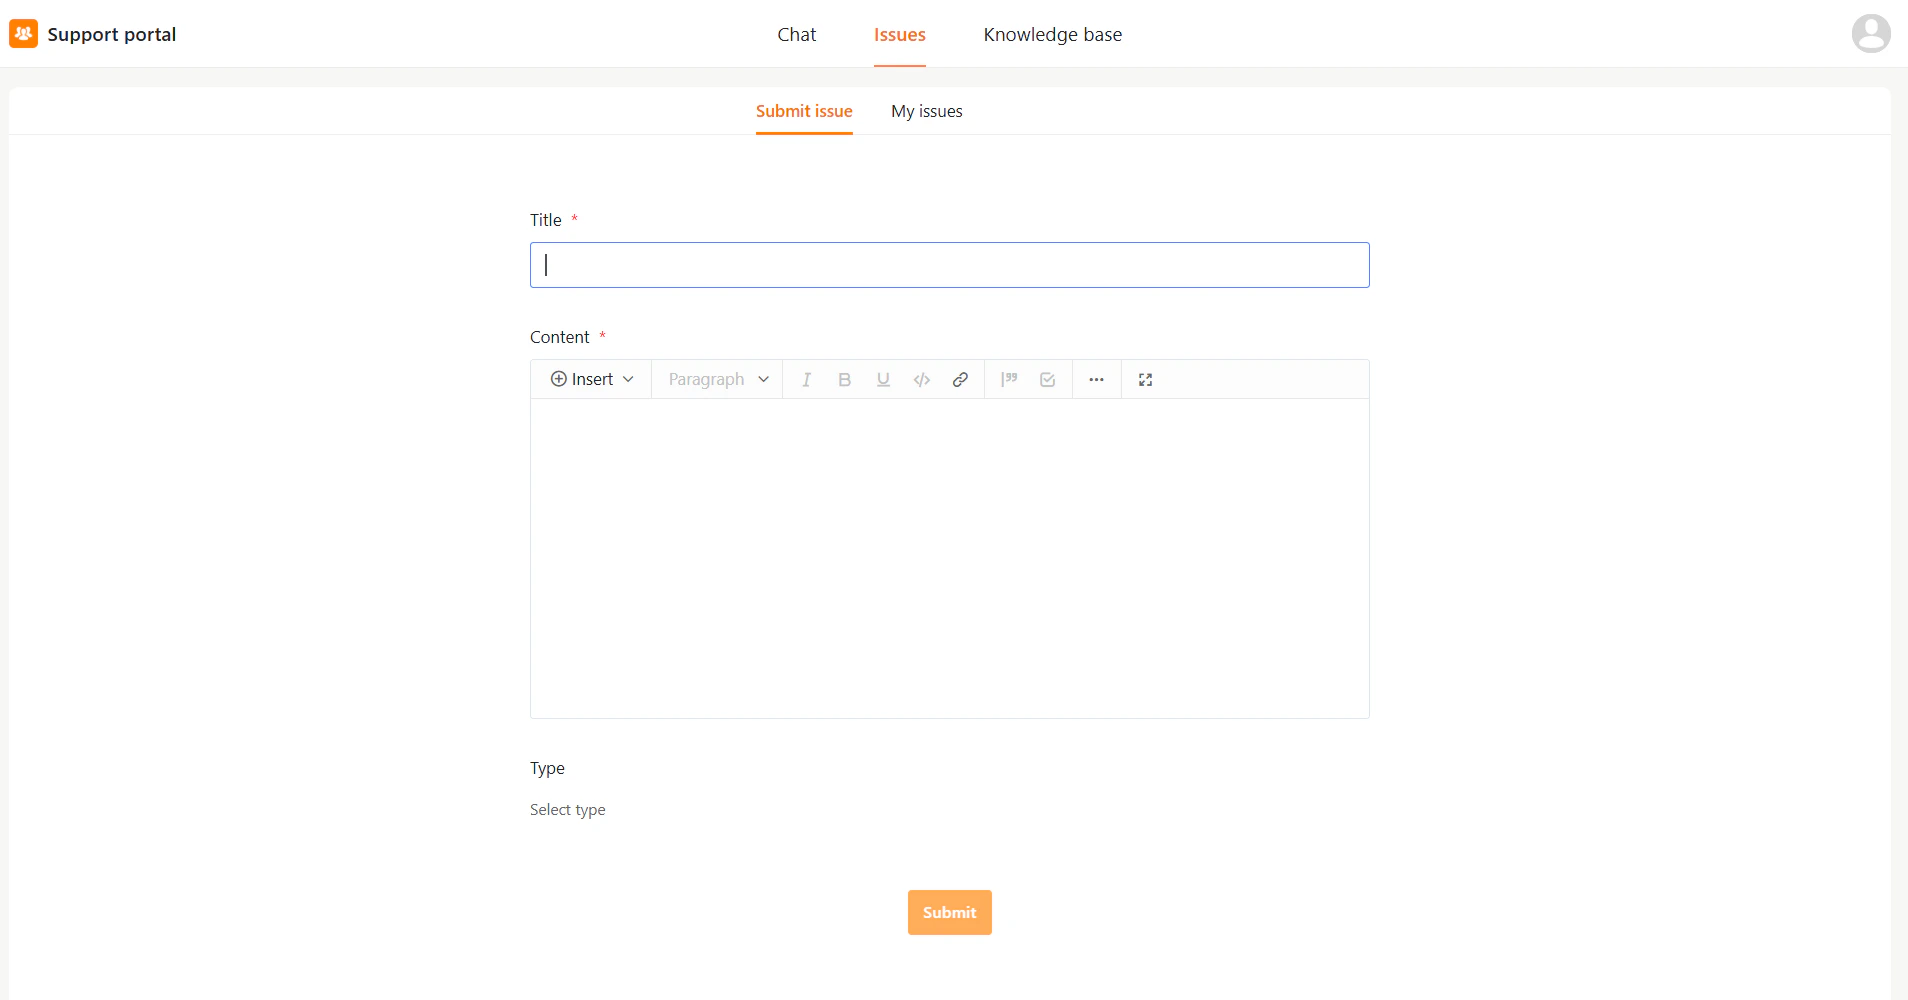
Signed In
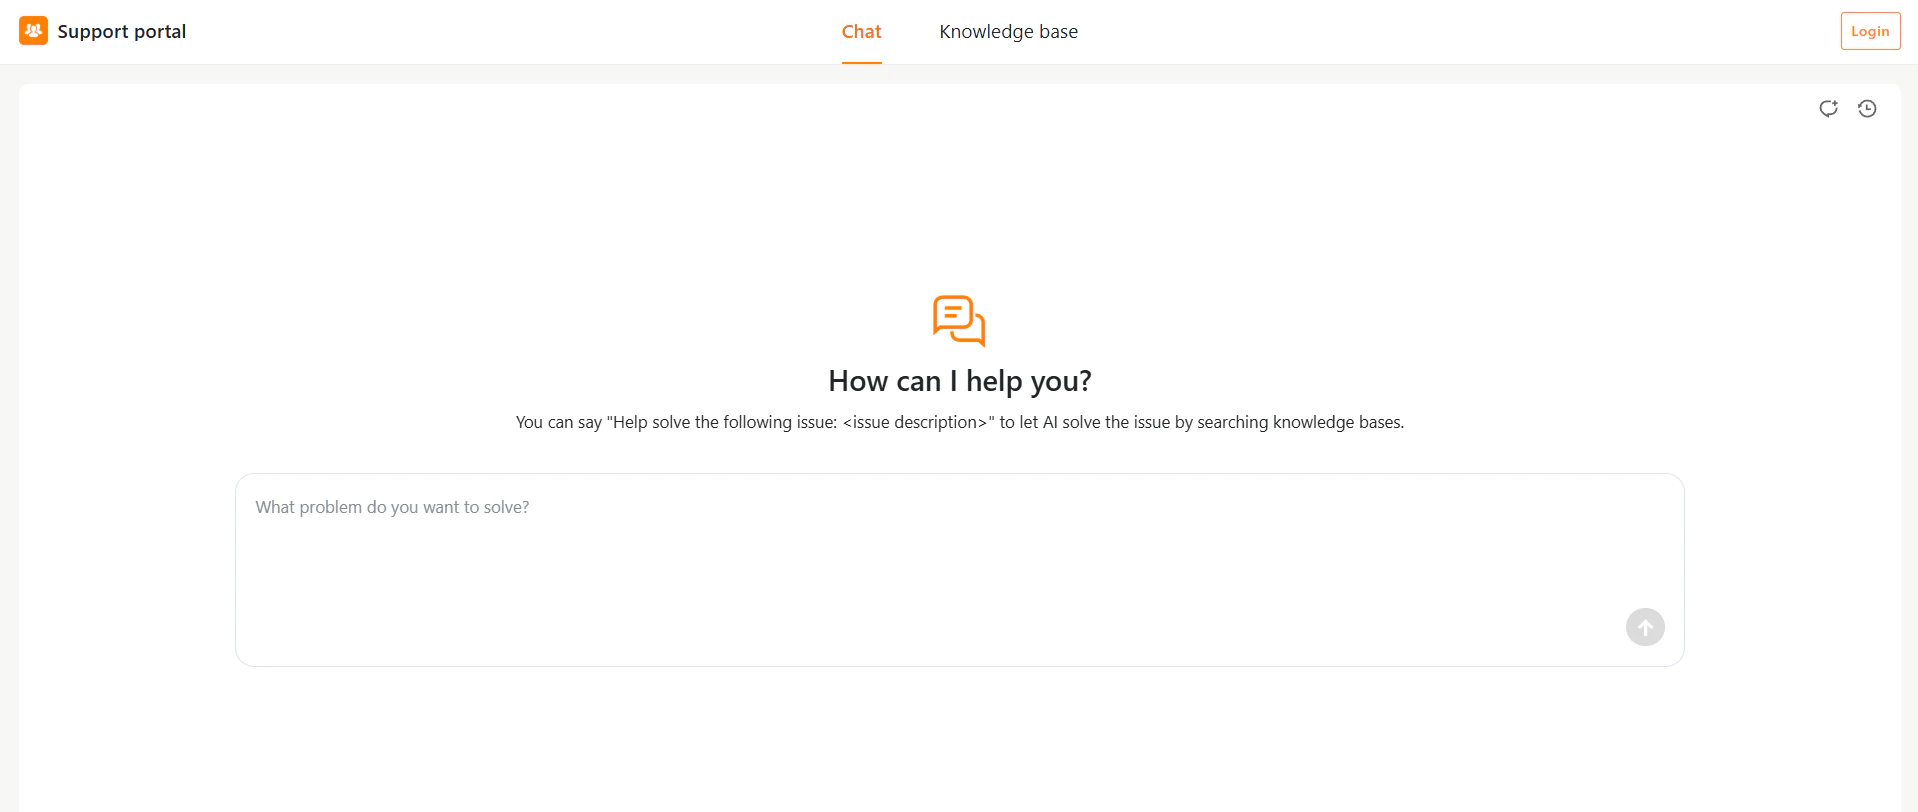
Anonymous Access
Allow Anonymous Access
Enable this option to let users access the portal without signing in. When disabled, only users with a SeaTicket account can access the portal.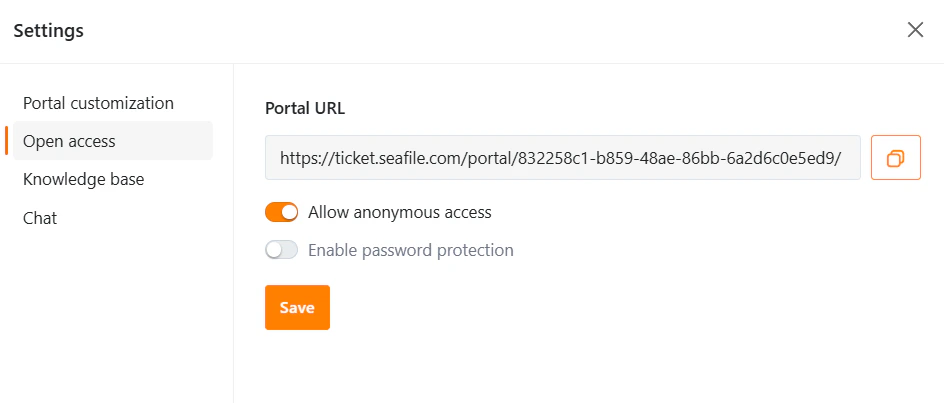
Enable Password Protection
Available only when Allow Anonymous Access is enabled. Once activated, users must enter a password before accessing the portal.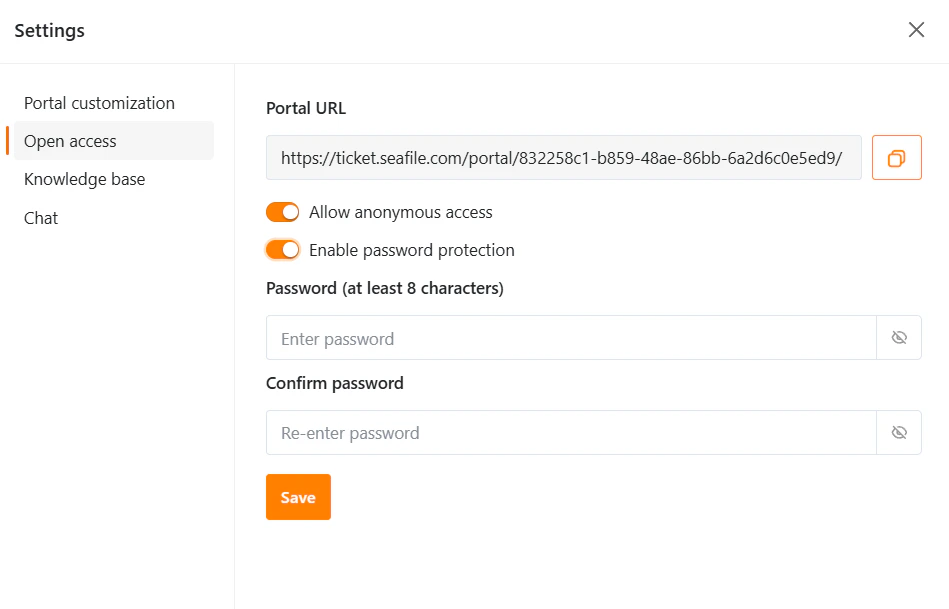
Show Knowledge Base
Control whether the Knowledge Base is visible. When enabled, users can browse the knowledge base directly from the portal.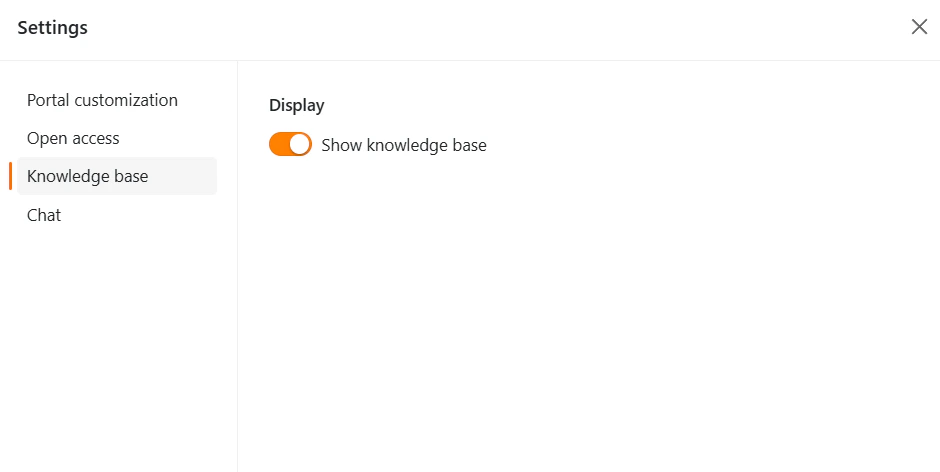
Chat Source Configuration
Define which data sources the AI Chat uses to generate responses. Selecting appropriate sources lets you control the quality and scope of the AI’s answers.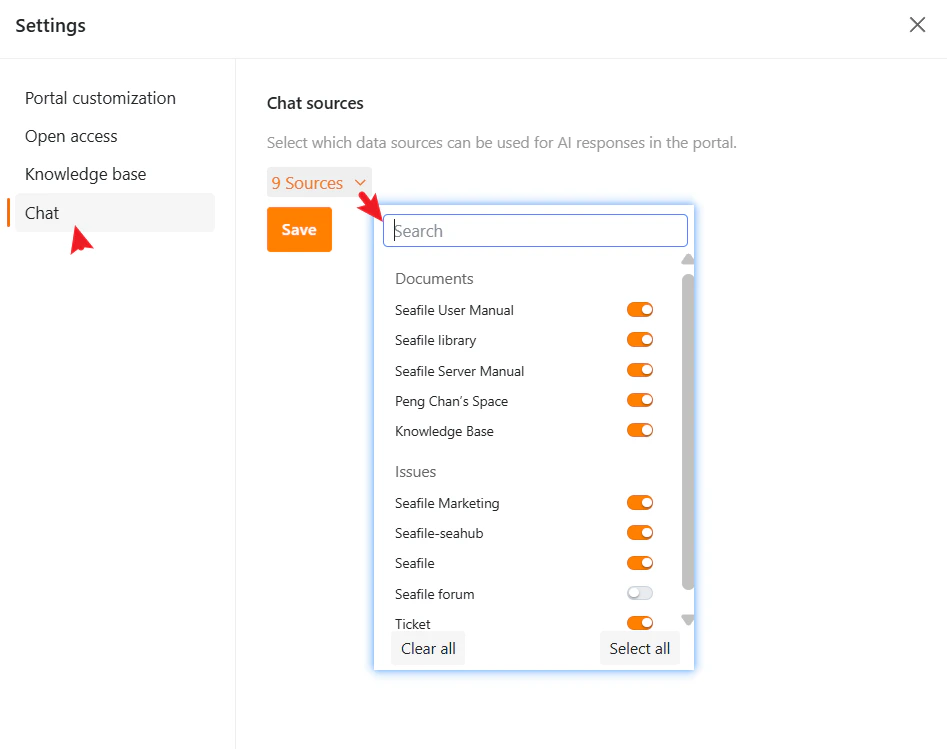
User Management
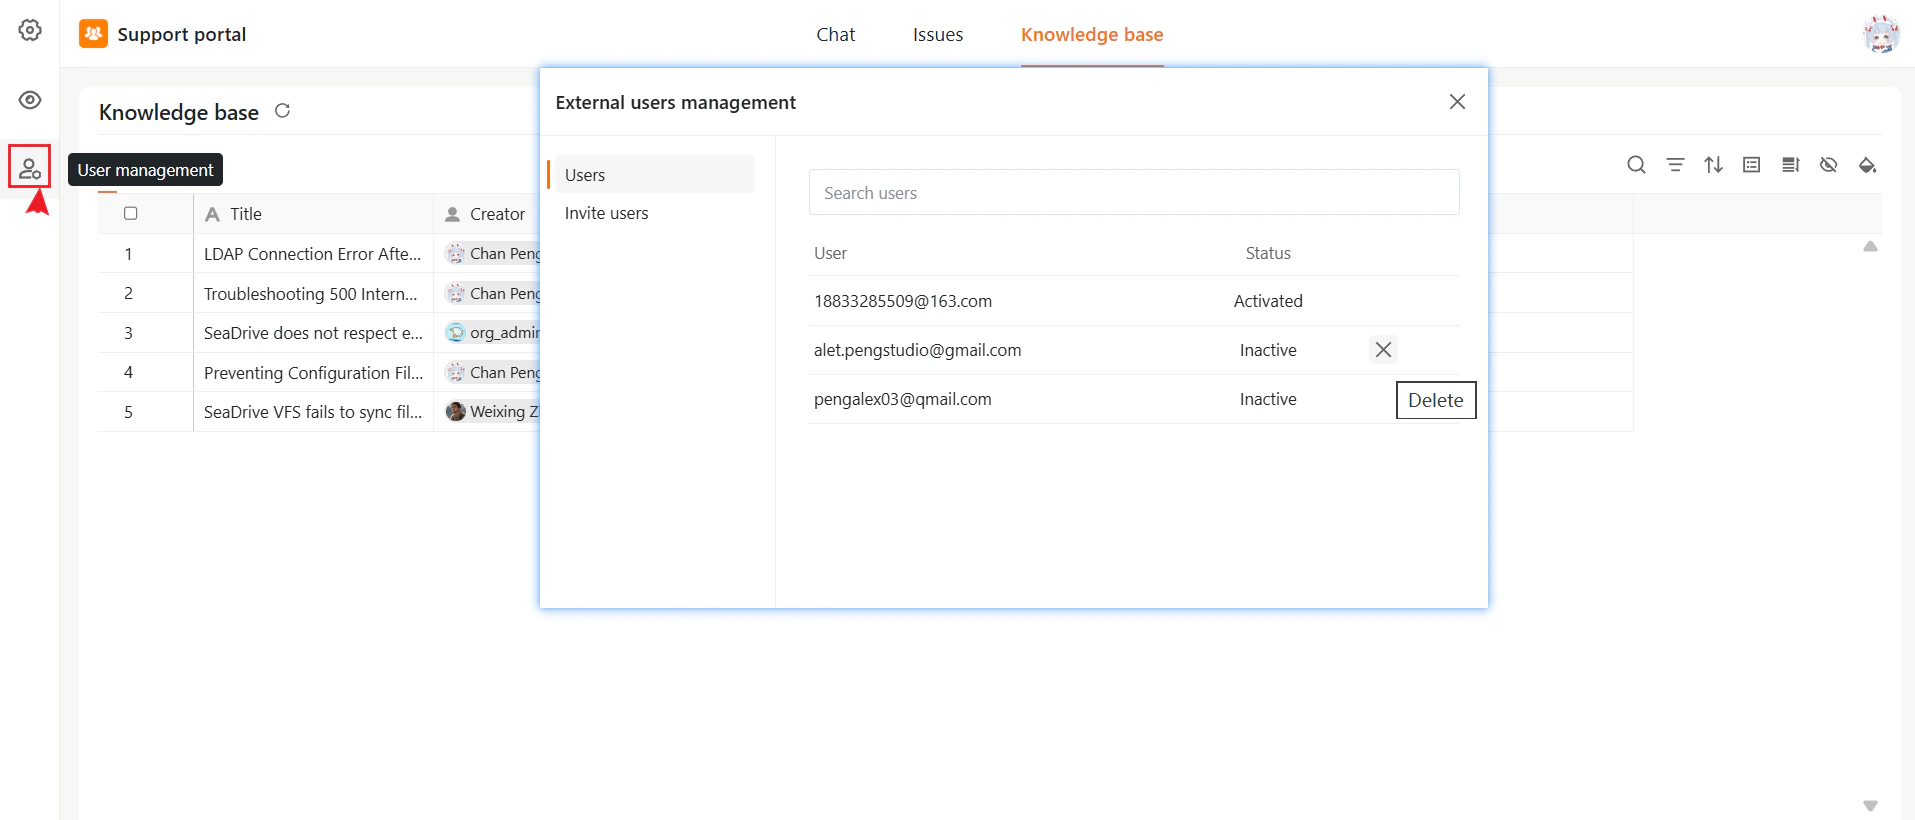
The External Users Management panel allows administrators to manage external user access, including viewing user status and inviting new users.Users Tab
The Users tab displays a list of all external users with the following information:- User: Email address
- Status:
- Activated: User has access and can log in
- Inactive: User has not activated their account or access has been disabled
- Search Users: Use the search bar to quickly find users by email.
- Remove User: Click the X icon next to a user to delete or revoke access.
Inviting New Users
In addition to the Portal URL, you can invite specific users to temporarily join your External Support Portal via email invitations. Steps to invite a new user:- Go to User management in the left navigation bar.
- Select the Invite users tab.
- Enter the user’s email address in the Email field.
- Click Invite to create a unique invitation link.
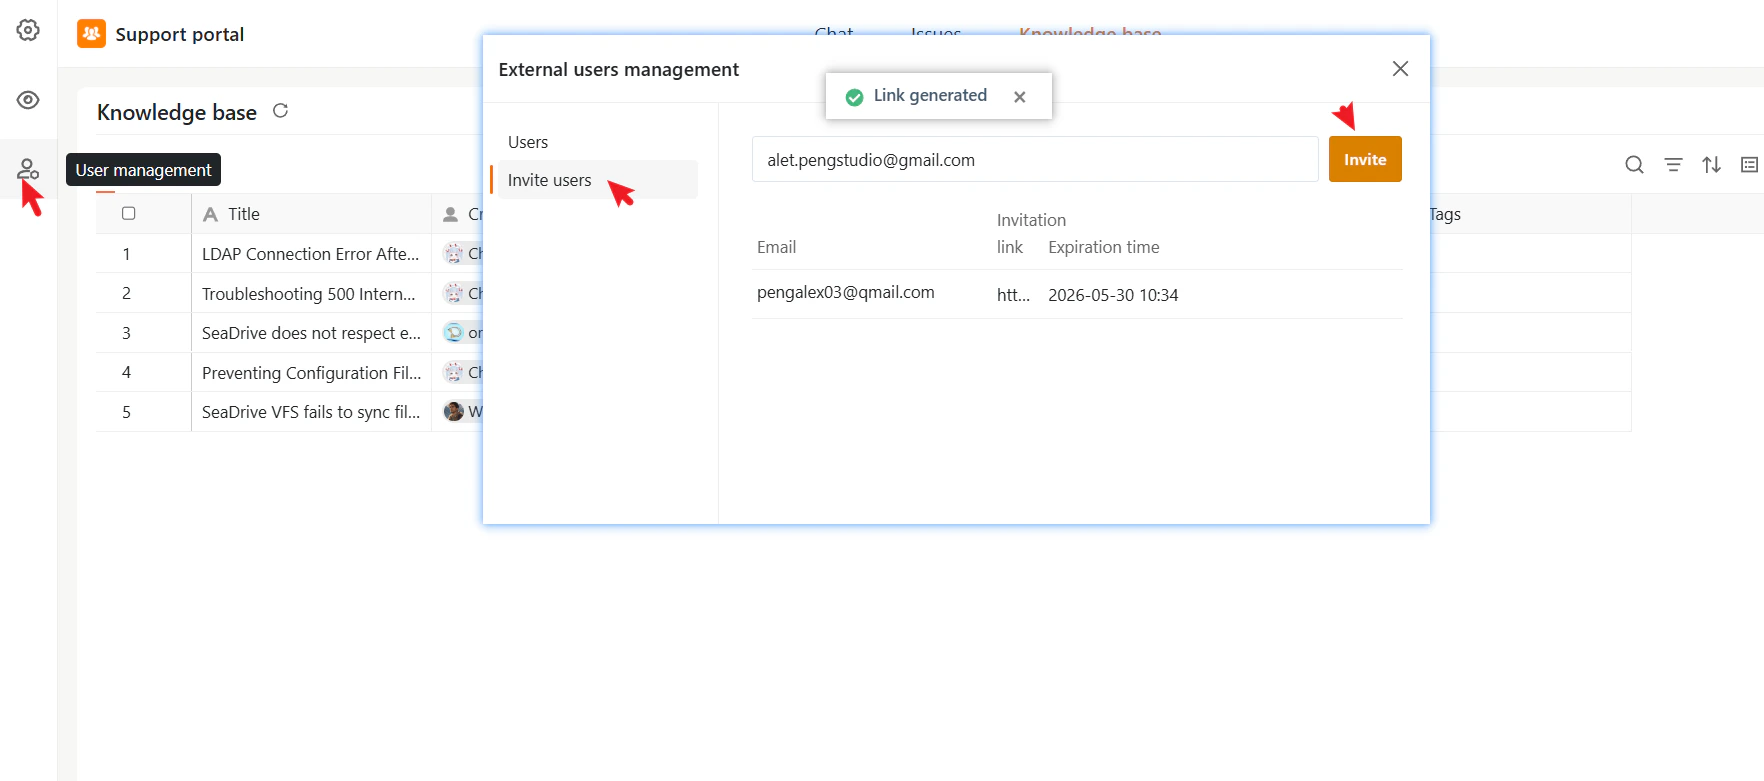
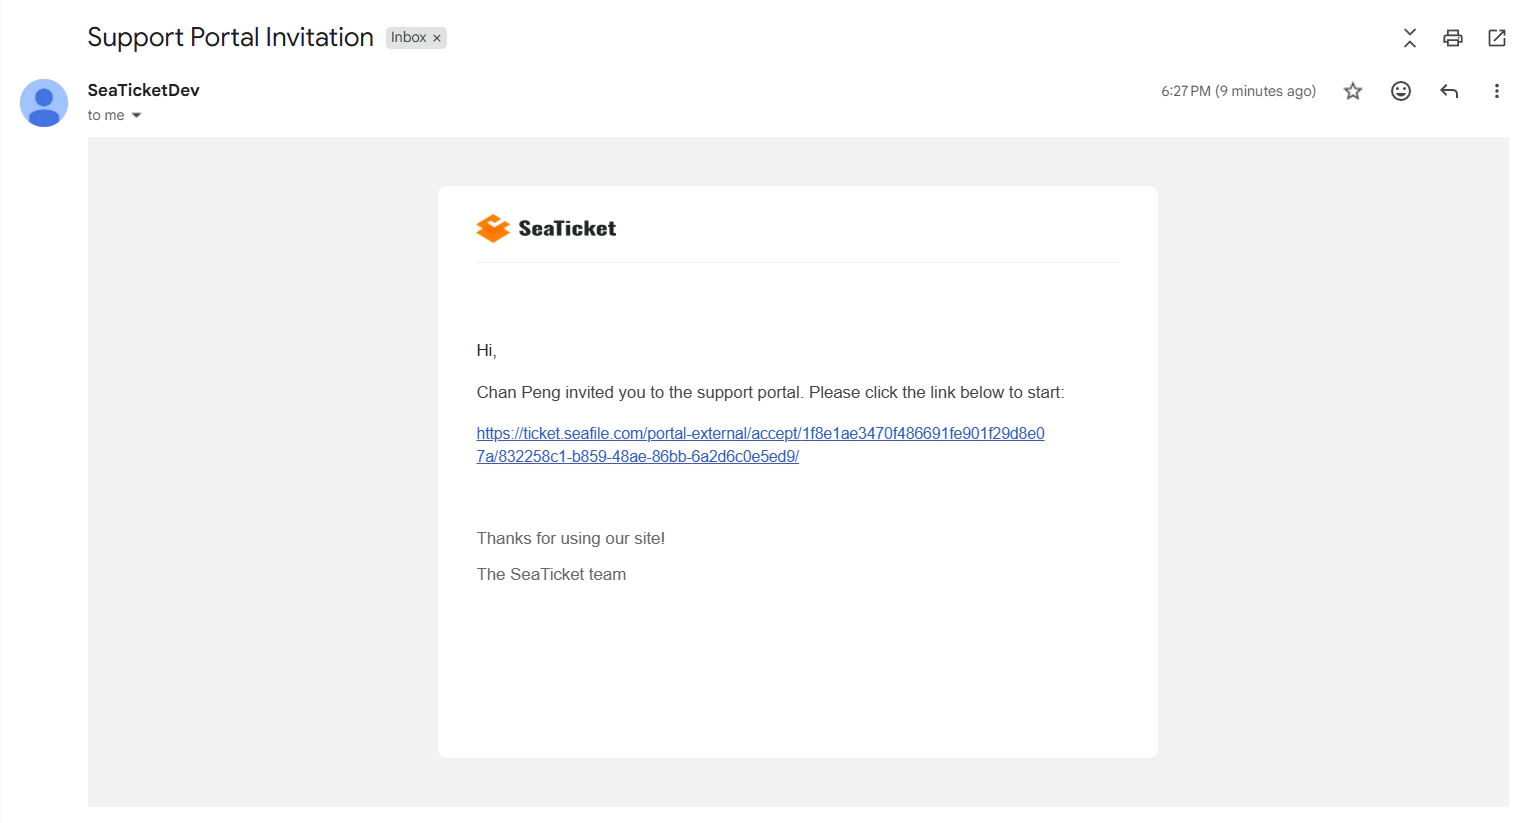
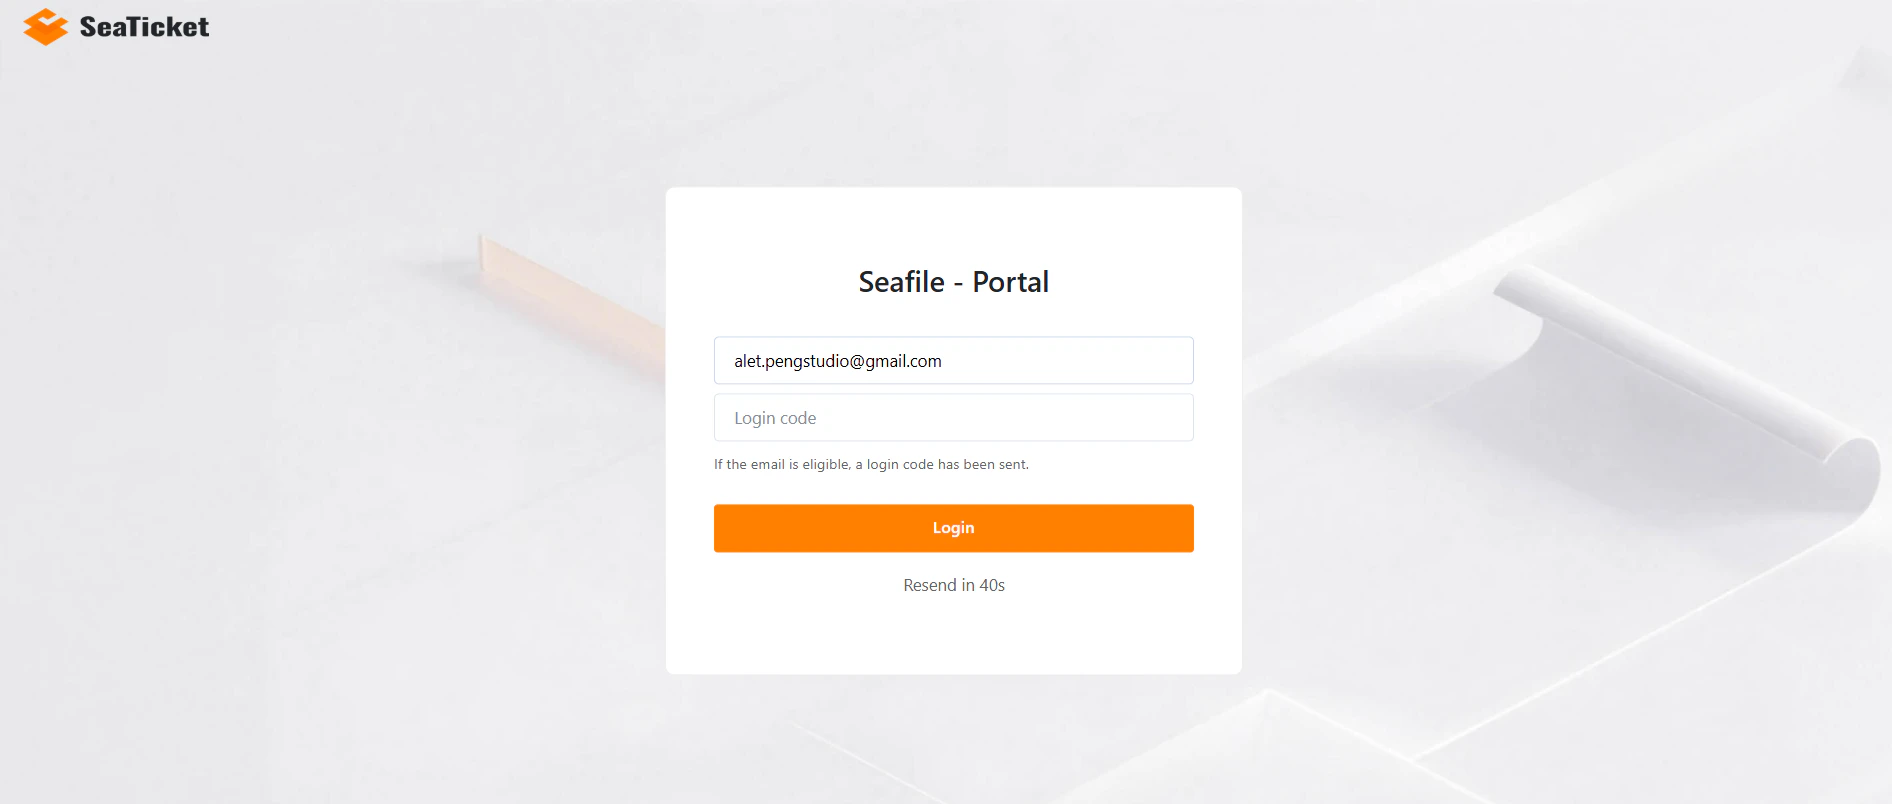
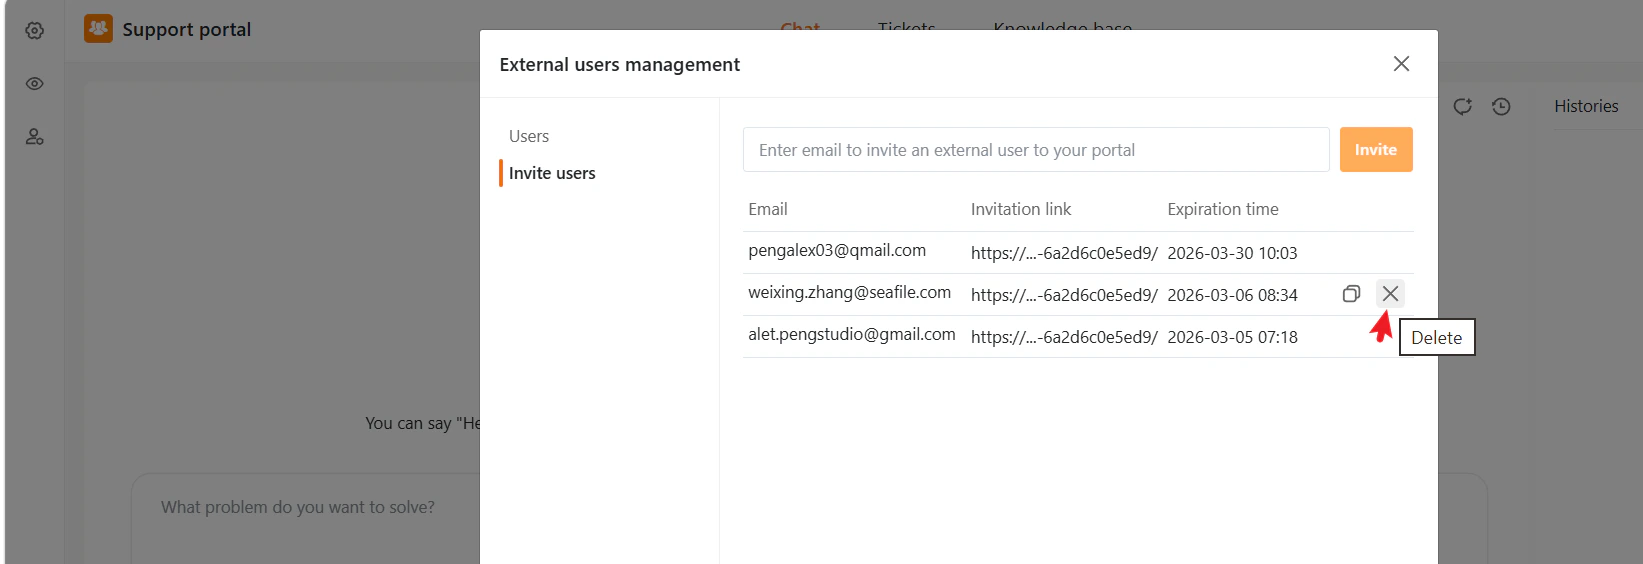
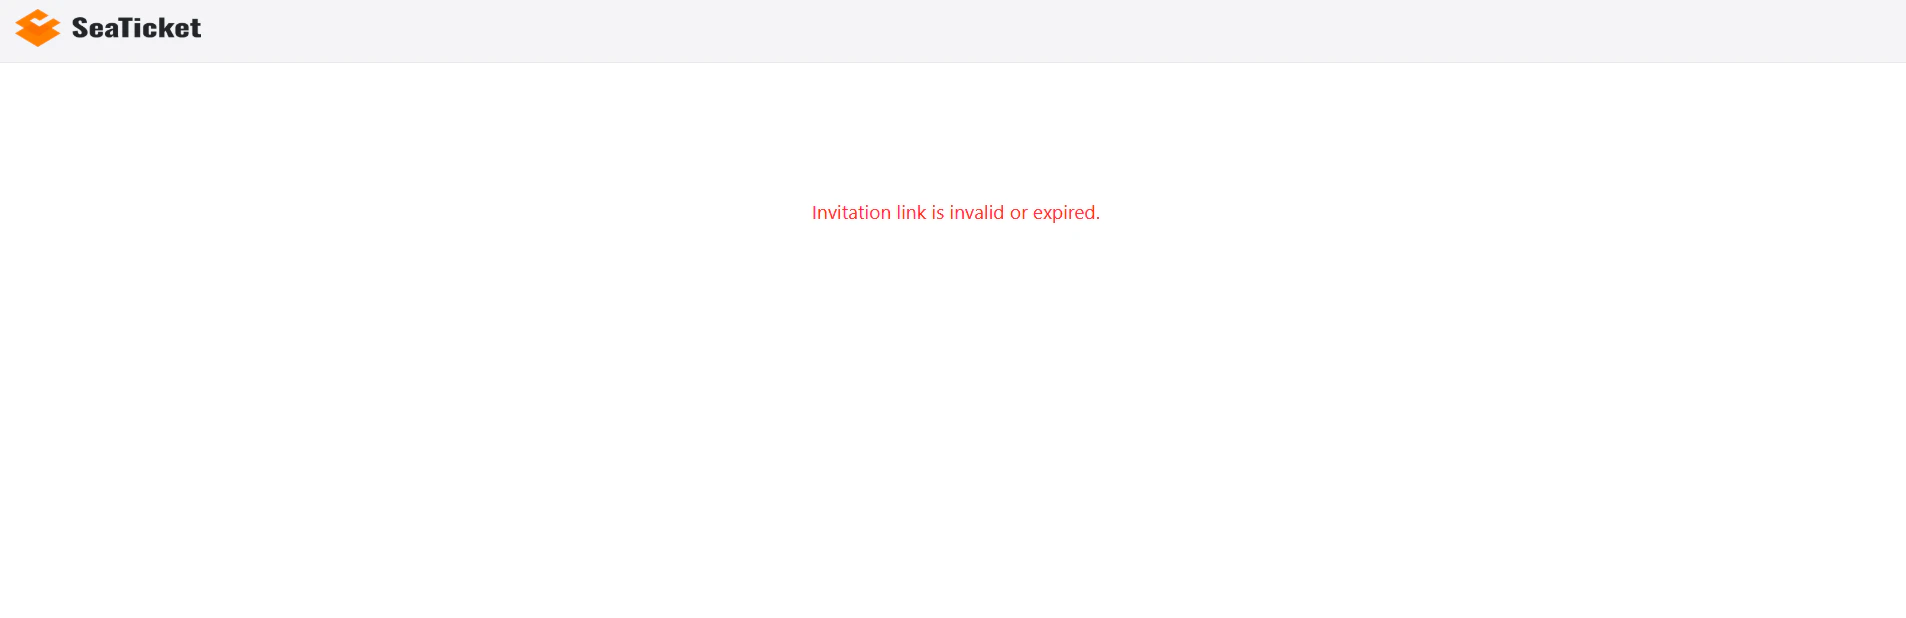
Users invited via email can be identified and managed by administrators, including tracking their access status.If an invitation link is deleted or expires, the invited user will no longer be able to access the External Support Portal using that link—even if they have previously accessed it.