

- Manual Creation
- Bulk import from Excel
- AI-generated from tickets
Accessing the Knowledge Base
To access the Knowledge Base:- Log in to the SeaTicket project workspace
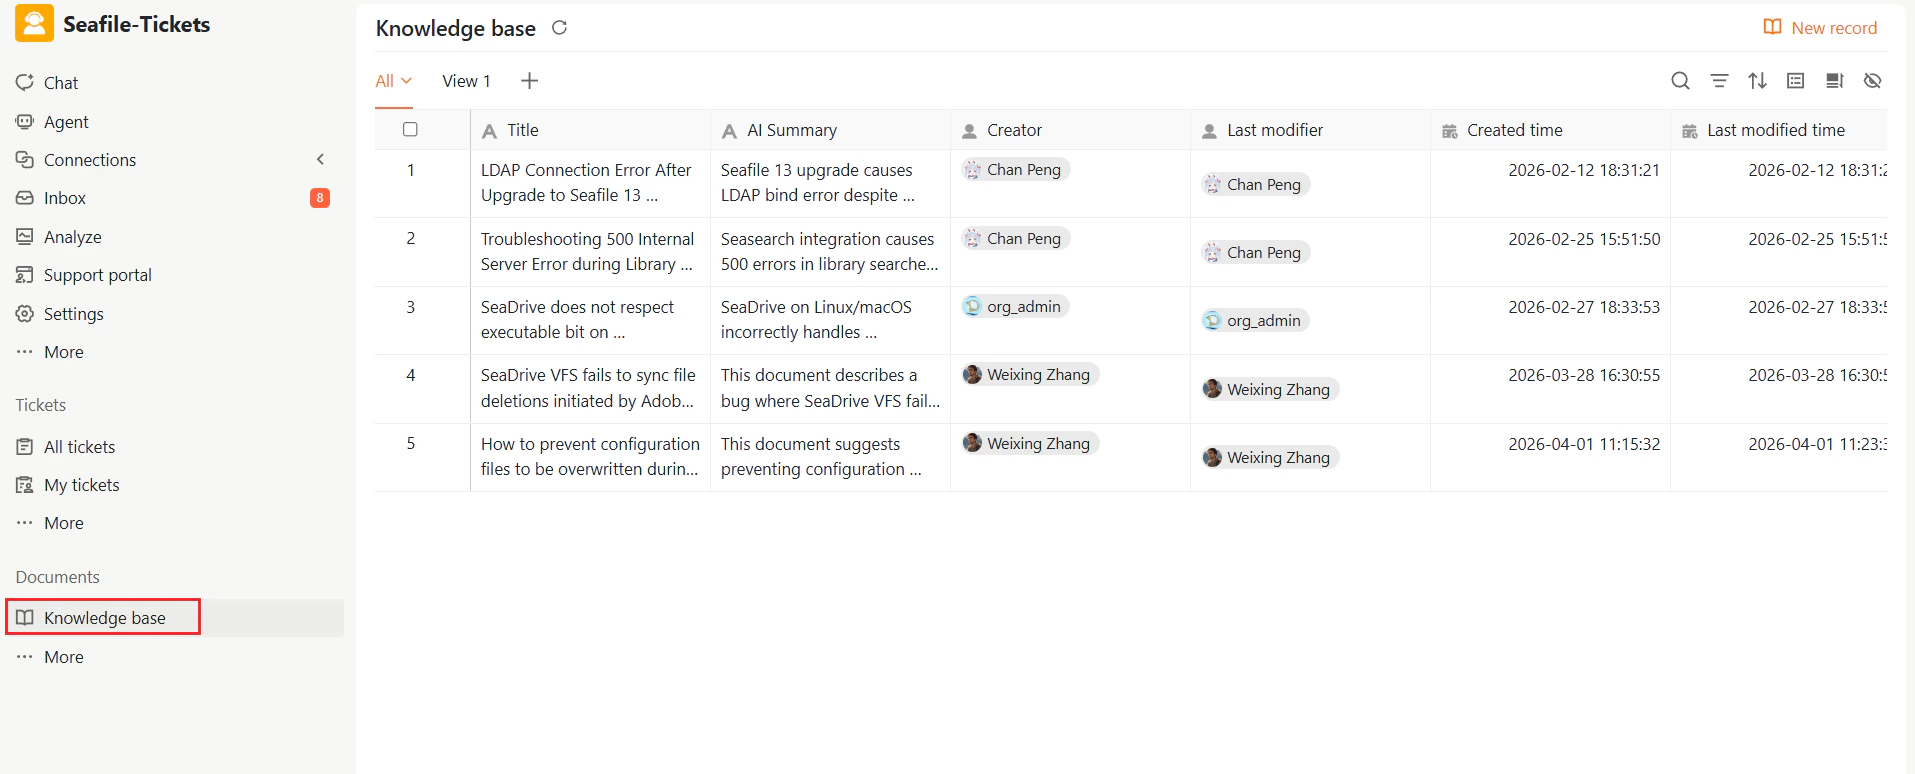
- From the left navigation panel, select Documents → Knowledge base
Creating a New Knowledge Record
Manual Creation
To create a new knowledge record manually:- Go to Documents → Knowledge Base.
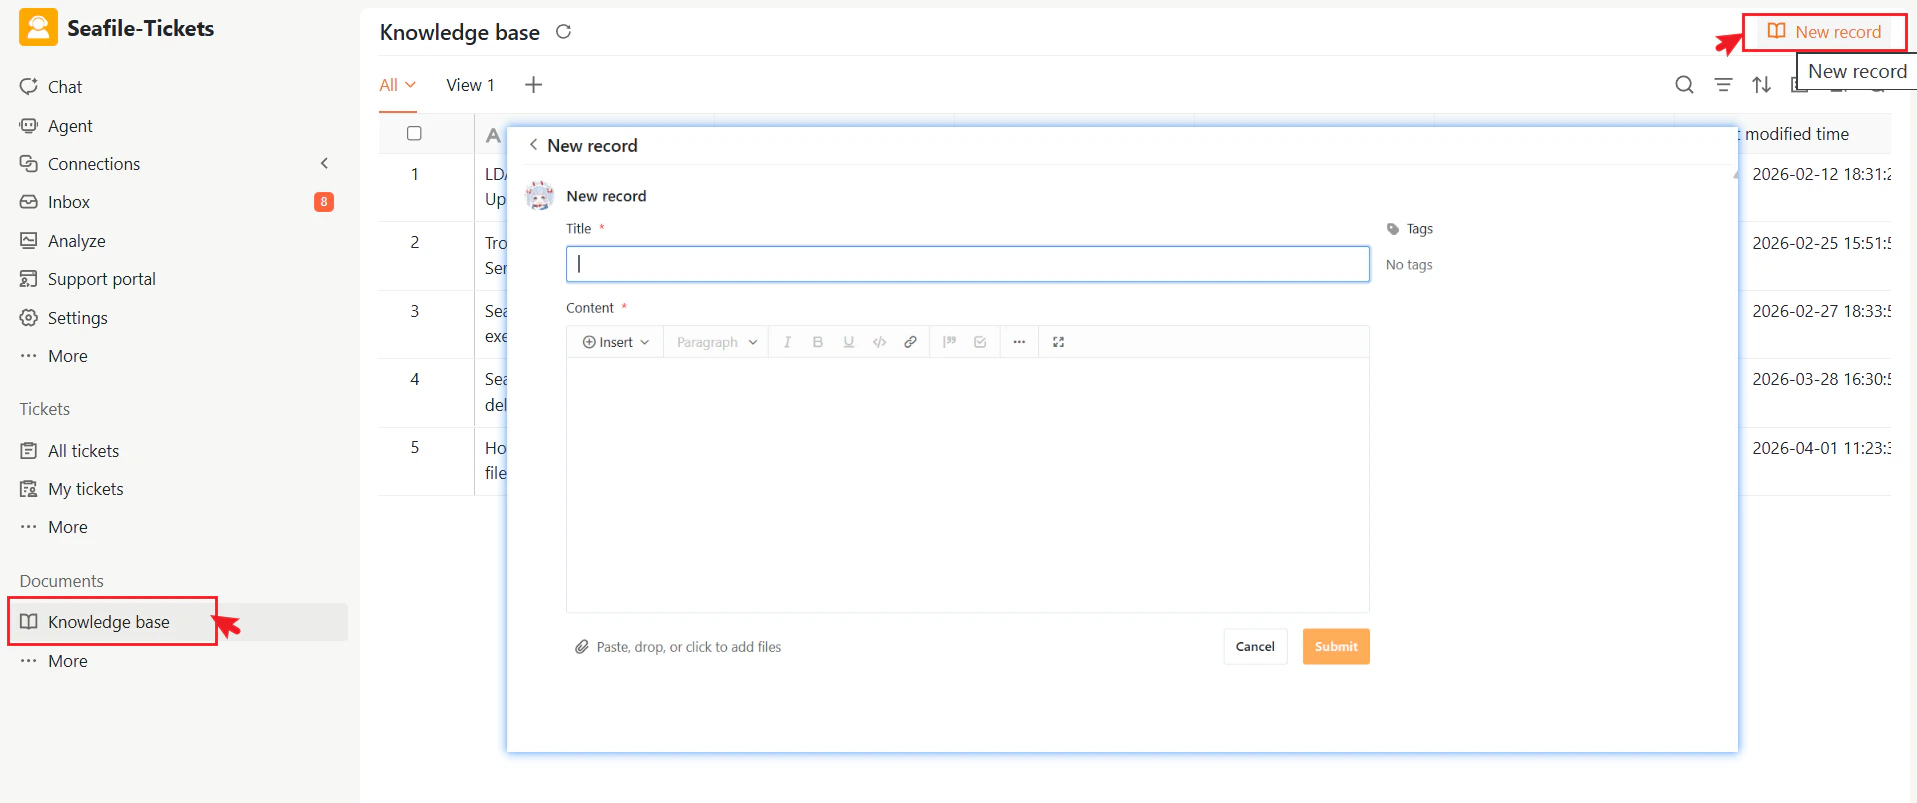
- Click + New record in the top-right corner.
- Enter a clear, descriptive title.
- Add your content in the editor and apply tags to the record.
- Click Submit to save.
Bulk Import from Excel
To import multiple records at once:- Go to the Knowledge Base page.
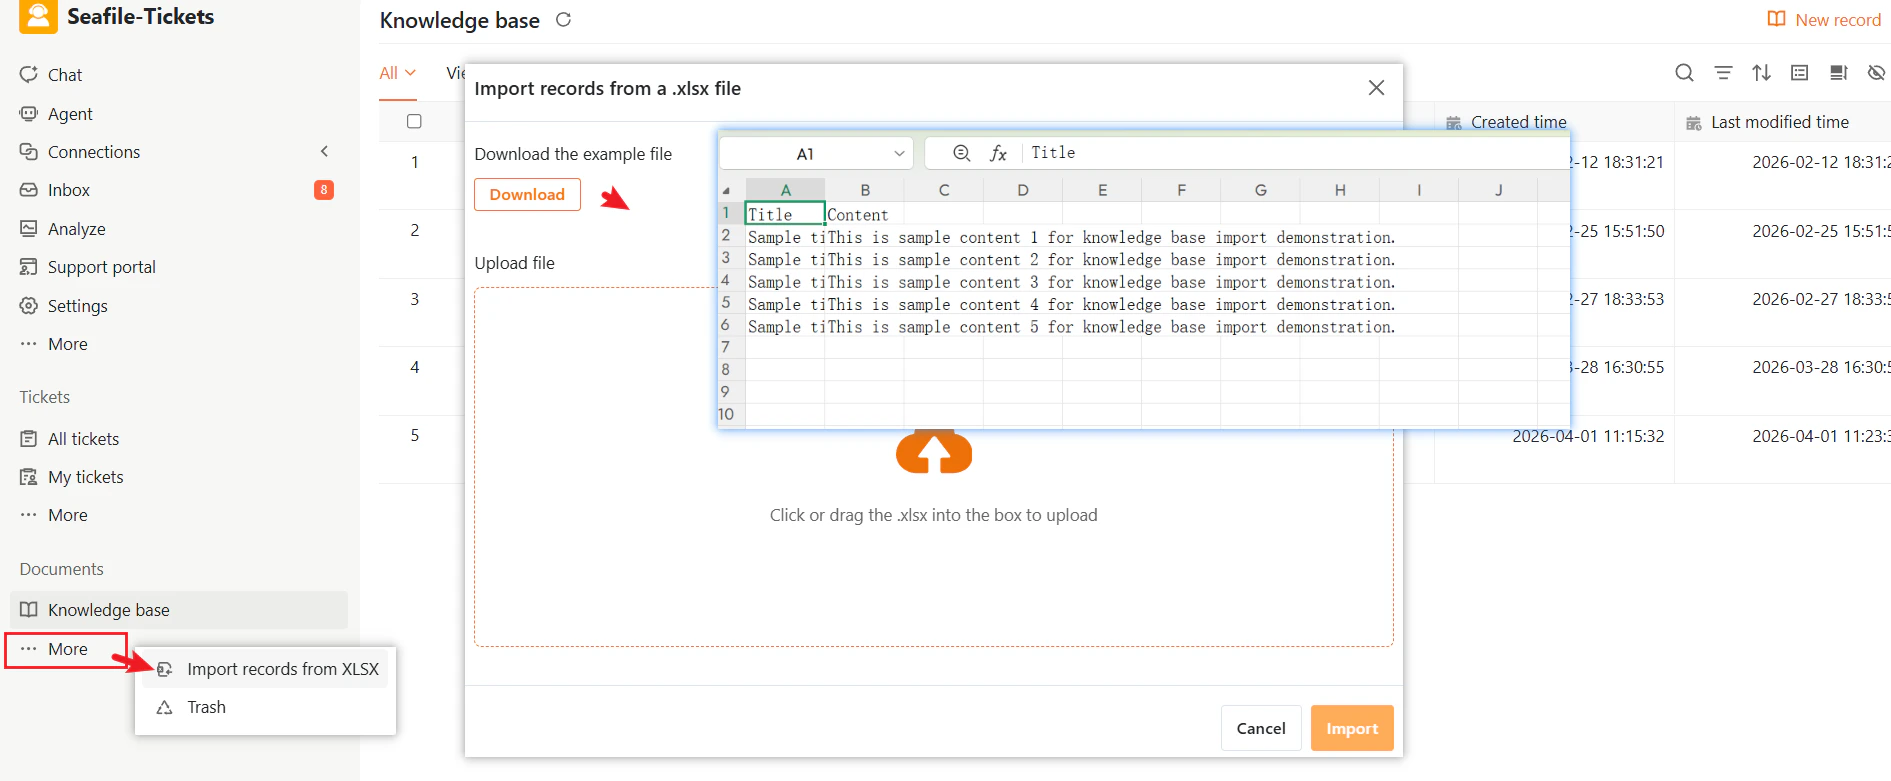
- Click More → Import records from XLSX to open the file upload dialog.
- Upload your file and map the columns to the corresponding fields. If needed, click Download to access an example file with the correct template format.
- Click Submit to start the import process.
Generate from Tickets (AI-powered)
SeaTicket lets you create a knowledge record directly from a ticket. The AI analyzes the ticket content and automatically generates a draft, extracting key details such as the issue description, symptoms, cause, and possible workarounds. To generate a record from a ticket:- Open the ticket list.
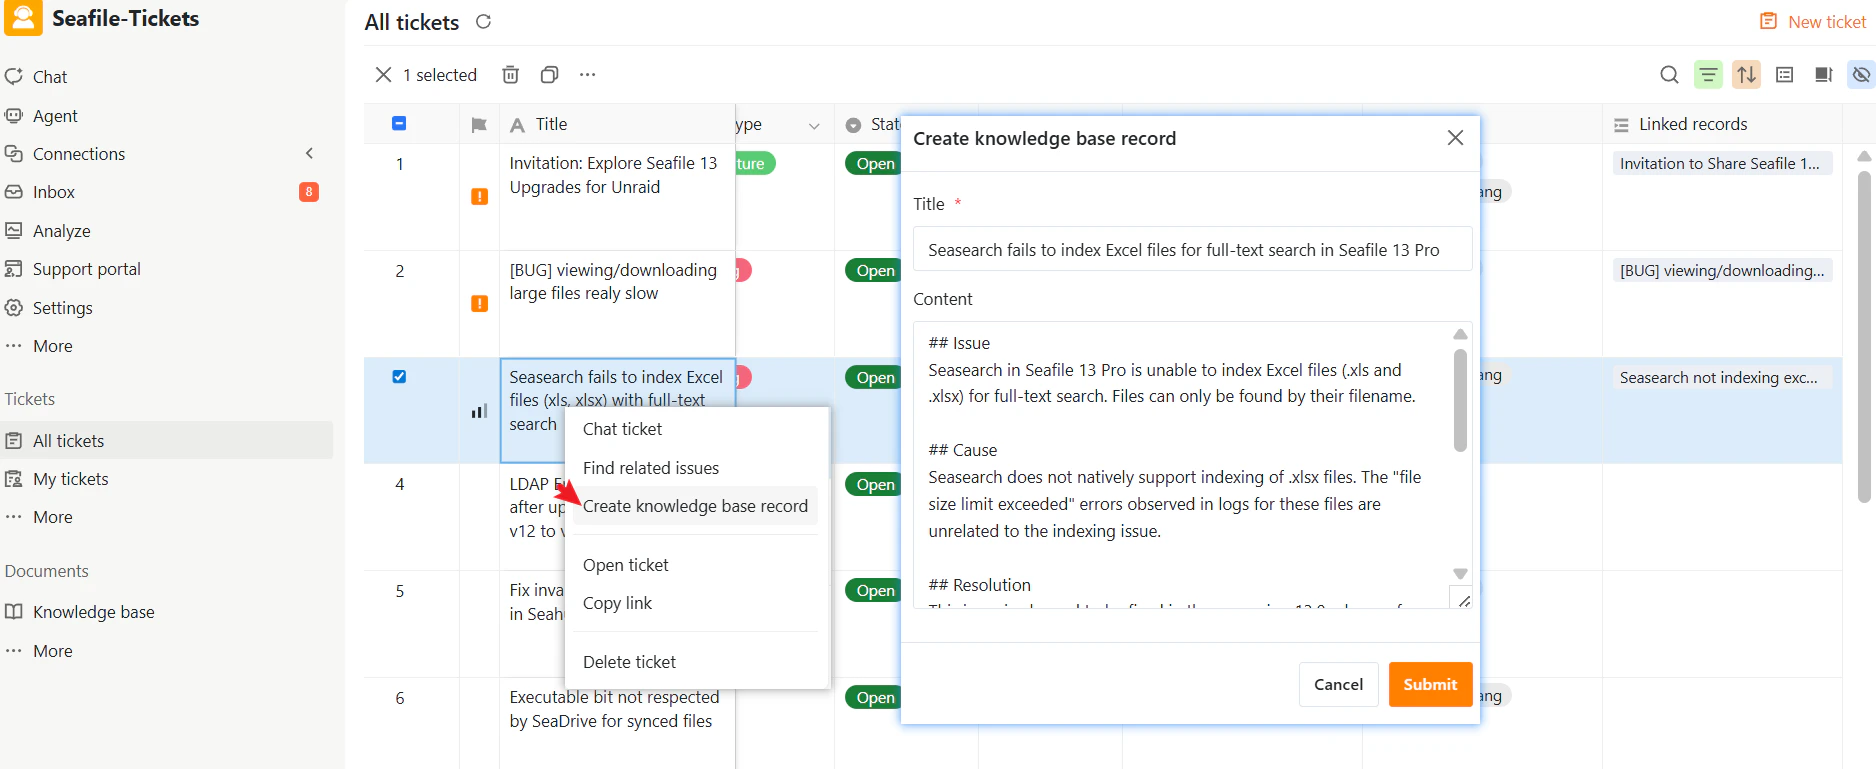
- Right-click a ticket.
- Choose Create knowledge base record. SeaTicket generates a draft Knowledge Record that you can fully edit.
- Review and edit the generated title and content for accuracy. Add or modify sections such as Issue, Symptoms, Cause, and Workaround as needed.
- Click Submit to publish the new Knowledge Record.
Knowledge Record Page Overview
Title
Enter a clear, descriptive title so users can quickly understand and find the record. If created from a ticket, the title is auto-generated by AI and can be edited anytime. Click the title to open the full record.Content
Add the main information here. The editor supports rich text formatting—headings, lists, links, images, tables, and code blocks—to help you organize content clearly. You can structure the content into sections such as:- Issue
- Symptoms
- Root Cause
- Resolution
- Workaround
Tags
Tags are keywords used to categorize and organize knowledge records.- Select existing tags or create new ones
- Help users quickly search, filter, and manage related records
- Multiple tags can be added to a single record

Viewing Knowledge Records
Knowledge Record Fields Overview
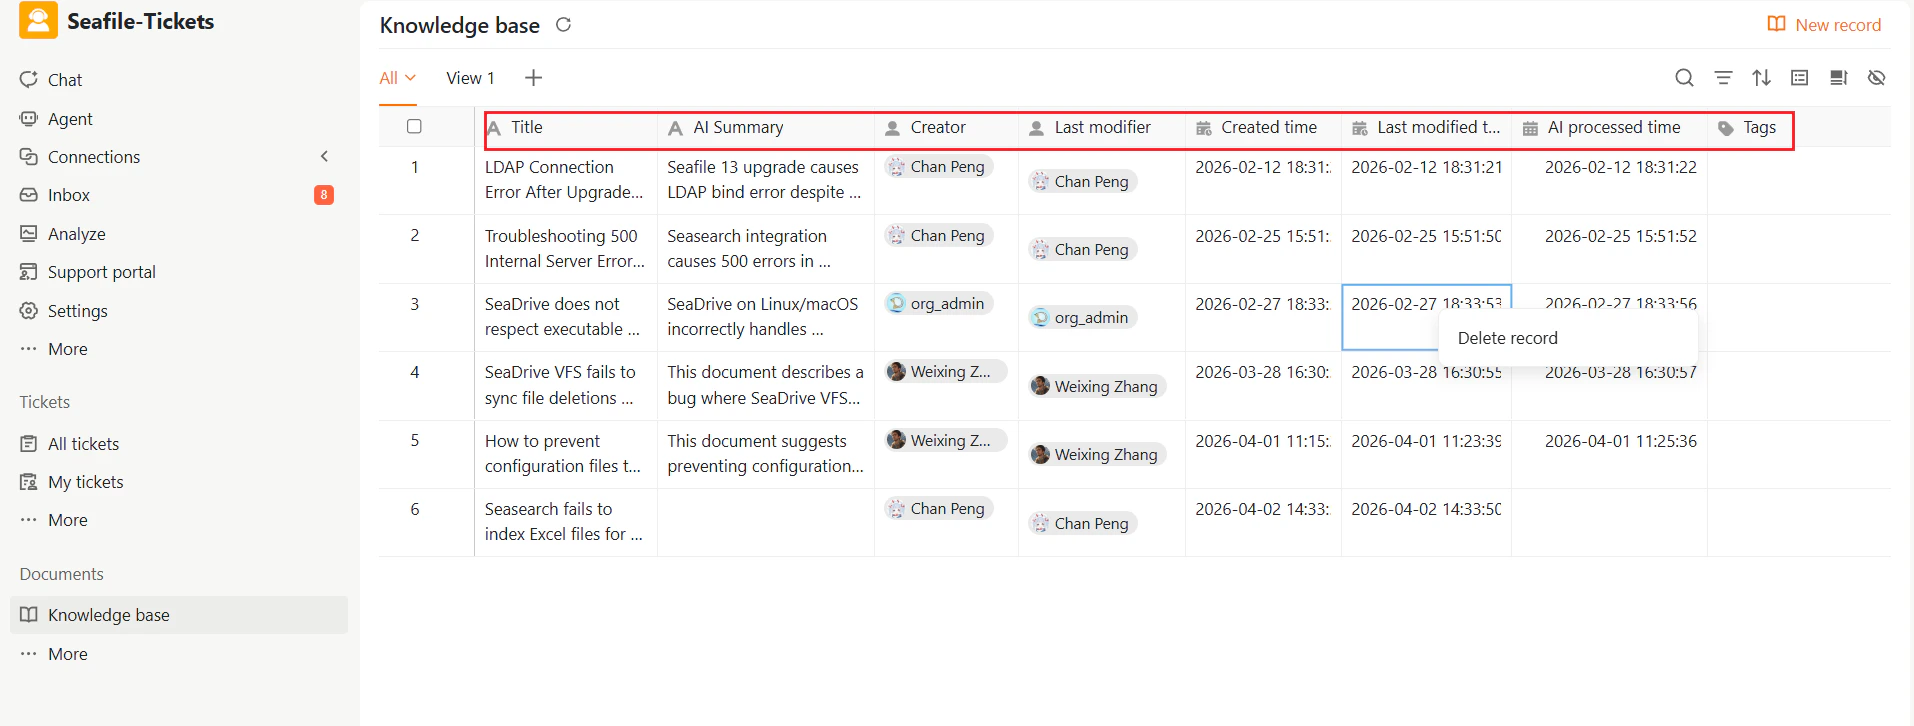
After submission, knowledge records appear in the Knowledge Base table view. Each row represents a record and displays key information:- AI Summary: A short system-generated summary that helps users determine relevance without opening the full record.
- AI Processed Time: The time when AI processing was completed.
- Creator and Last Modifier: Shows who created and last updated the record.
- Timestamps: Includes created time and last modified time.
Viewing the Full Knowledge Record
To view the complete knowledge record, either:- Click the title to open the detail page, or
- Expand the row to preview the content inline.
